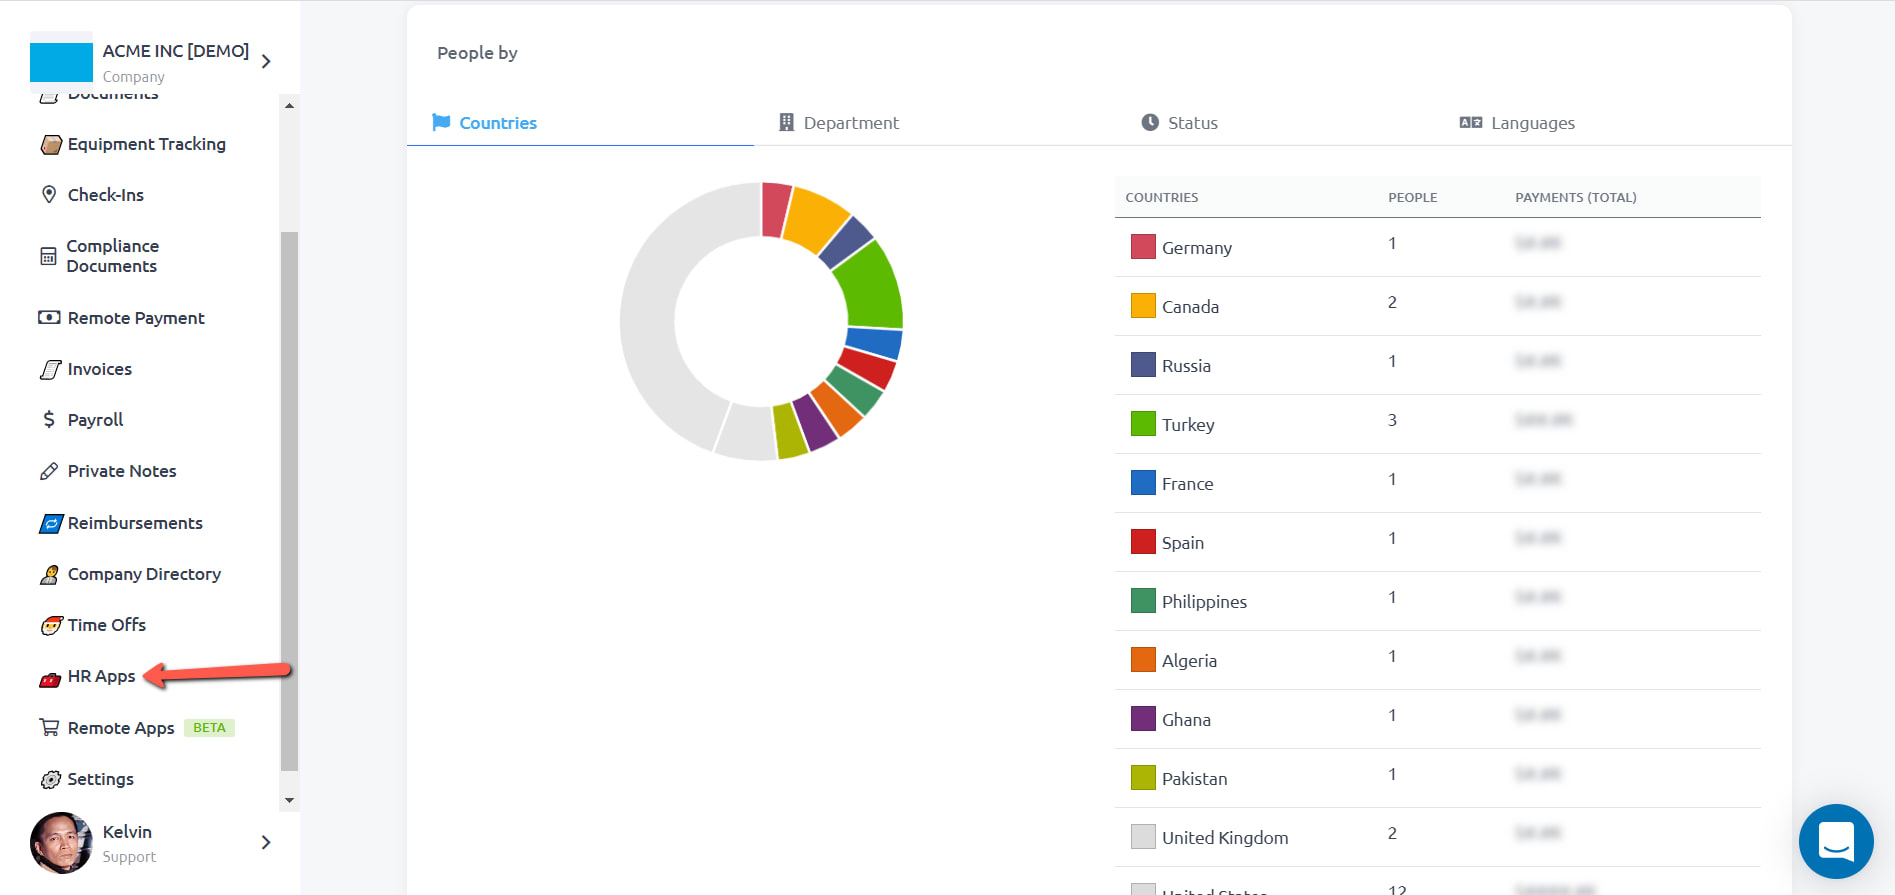
STEP 1: On your RemoteTeam dashboard, click on HR Apps or Apps.
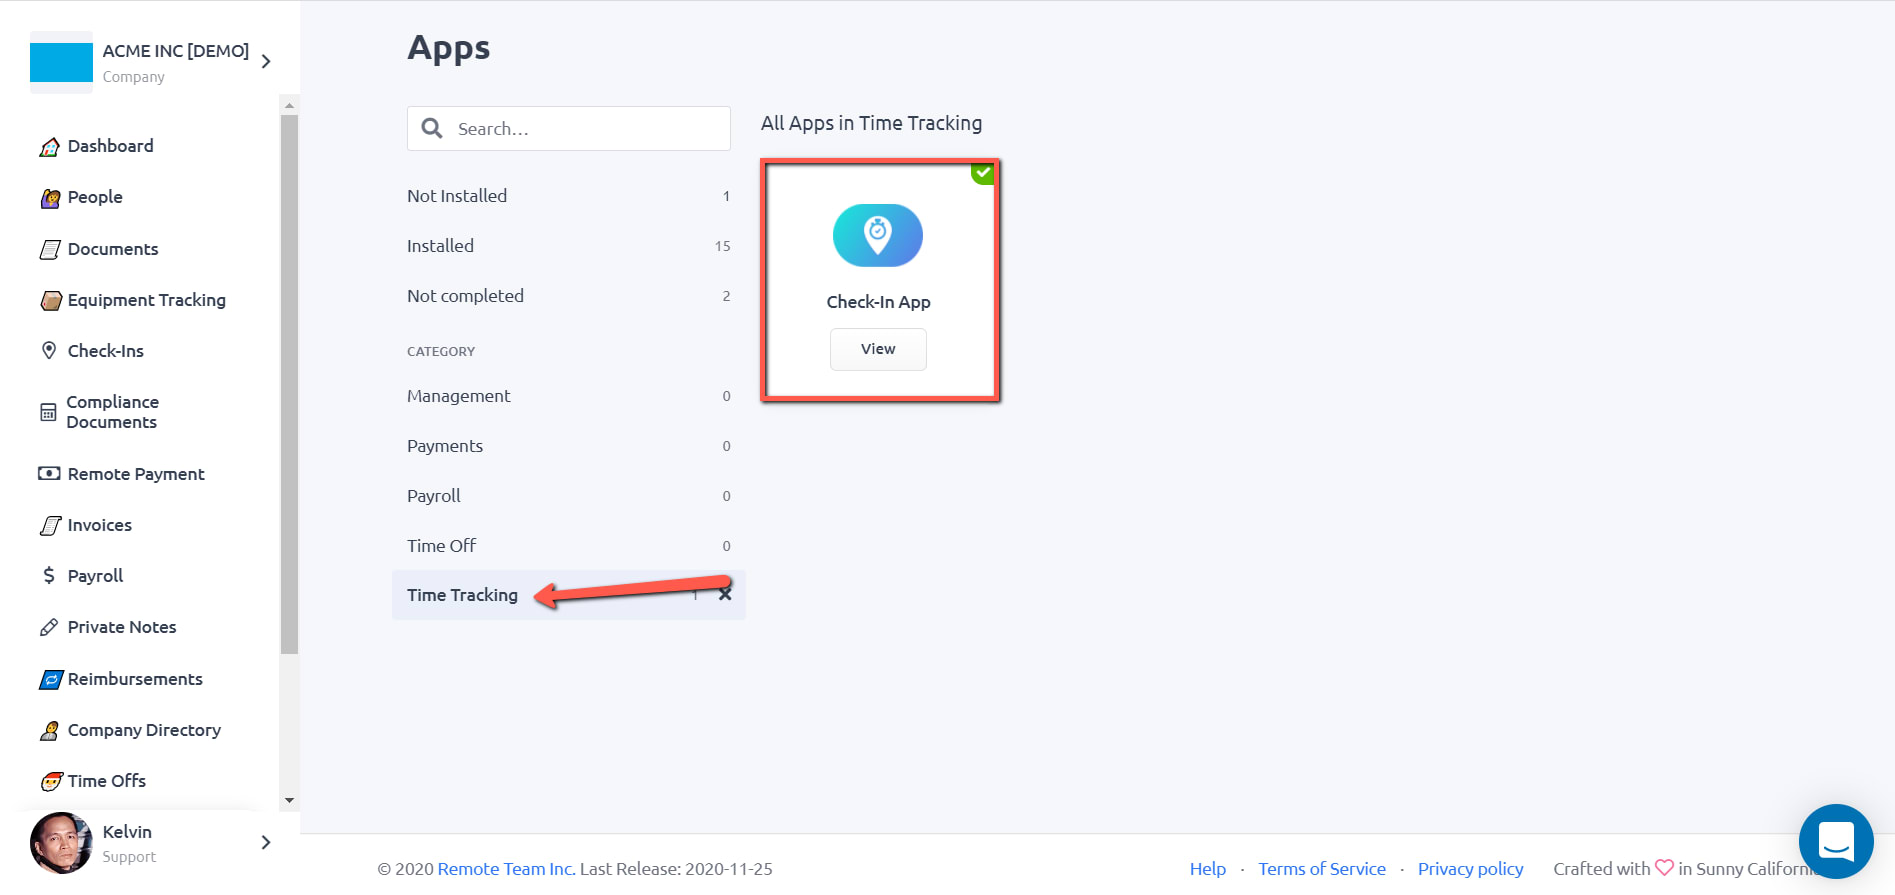
STEP 2: Under Time Tracking, click on Remote Payment.
STEP 3: Click on Settings Page.

STEP 4: You should now be able to allow Team Members and Managers to edit Check-in logged times or make changes to how their times can be approved.
STEP 1: On your RemoteTeam dashboard, click on HR Apps or Apps and enable Check-in App.
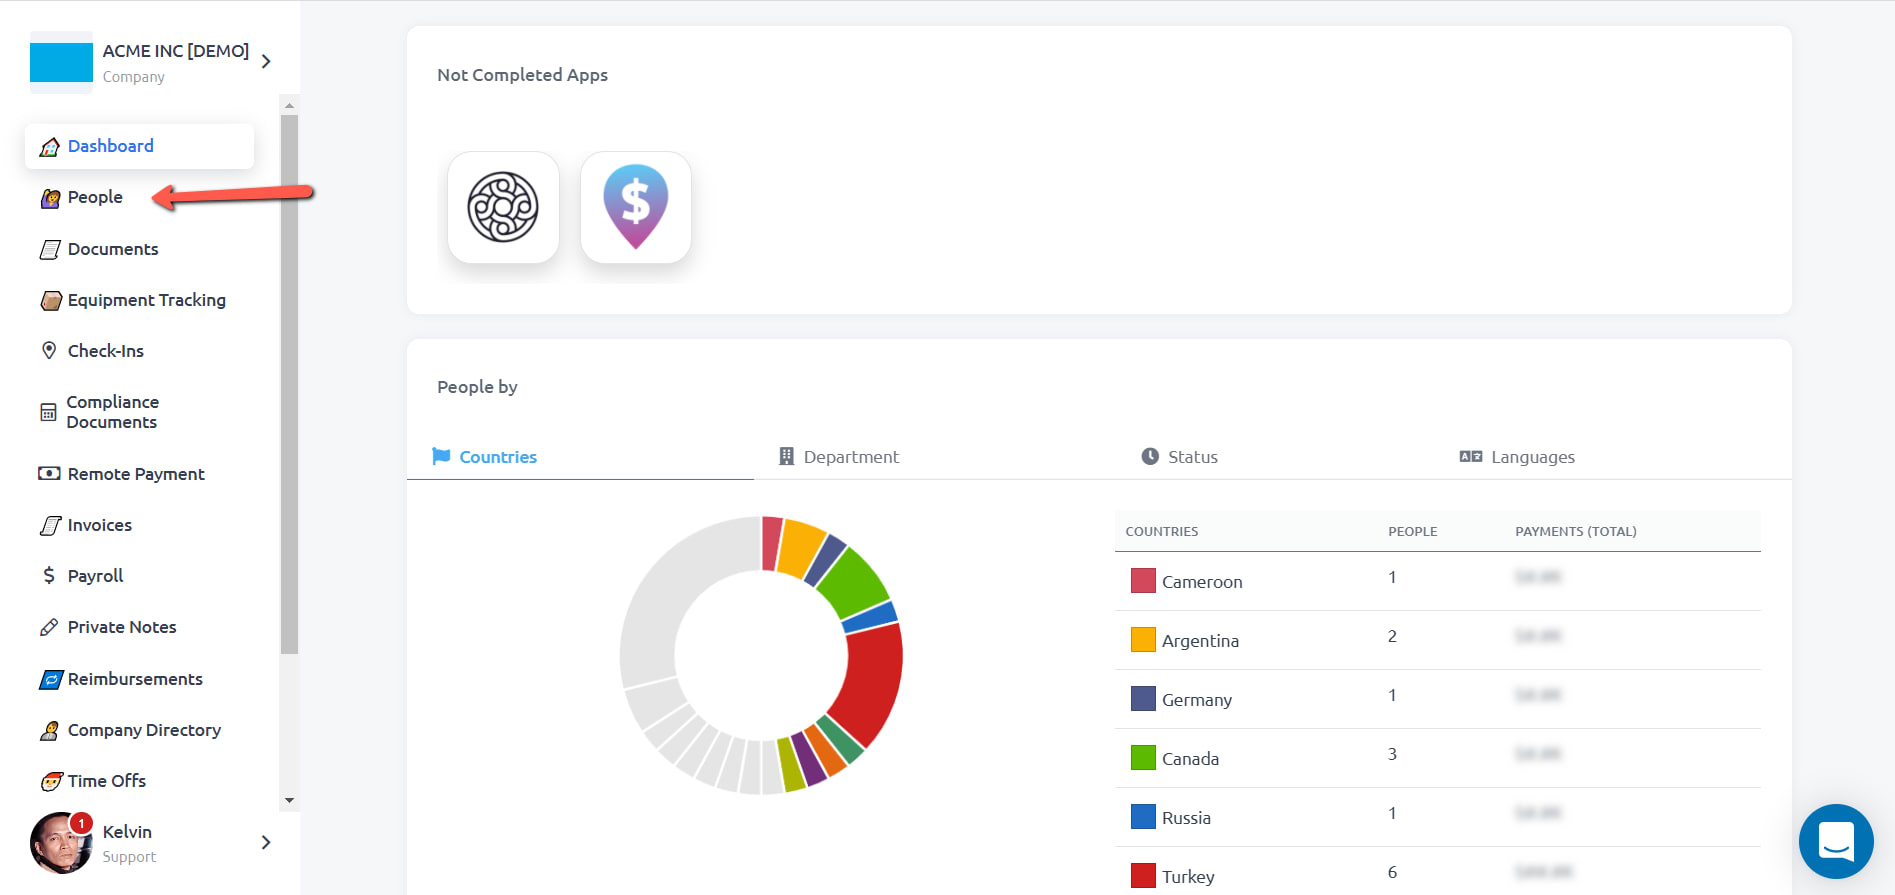
STEP 2: Click Check-Ins on the menu and go to People.
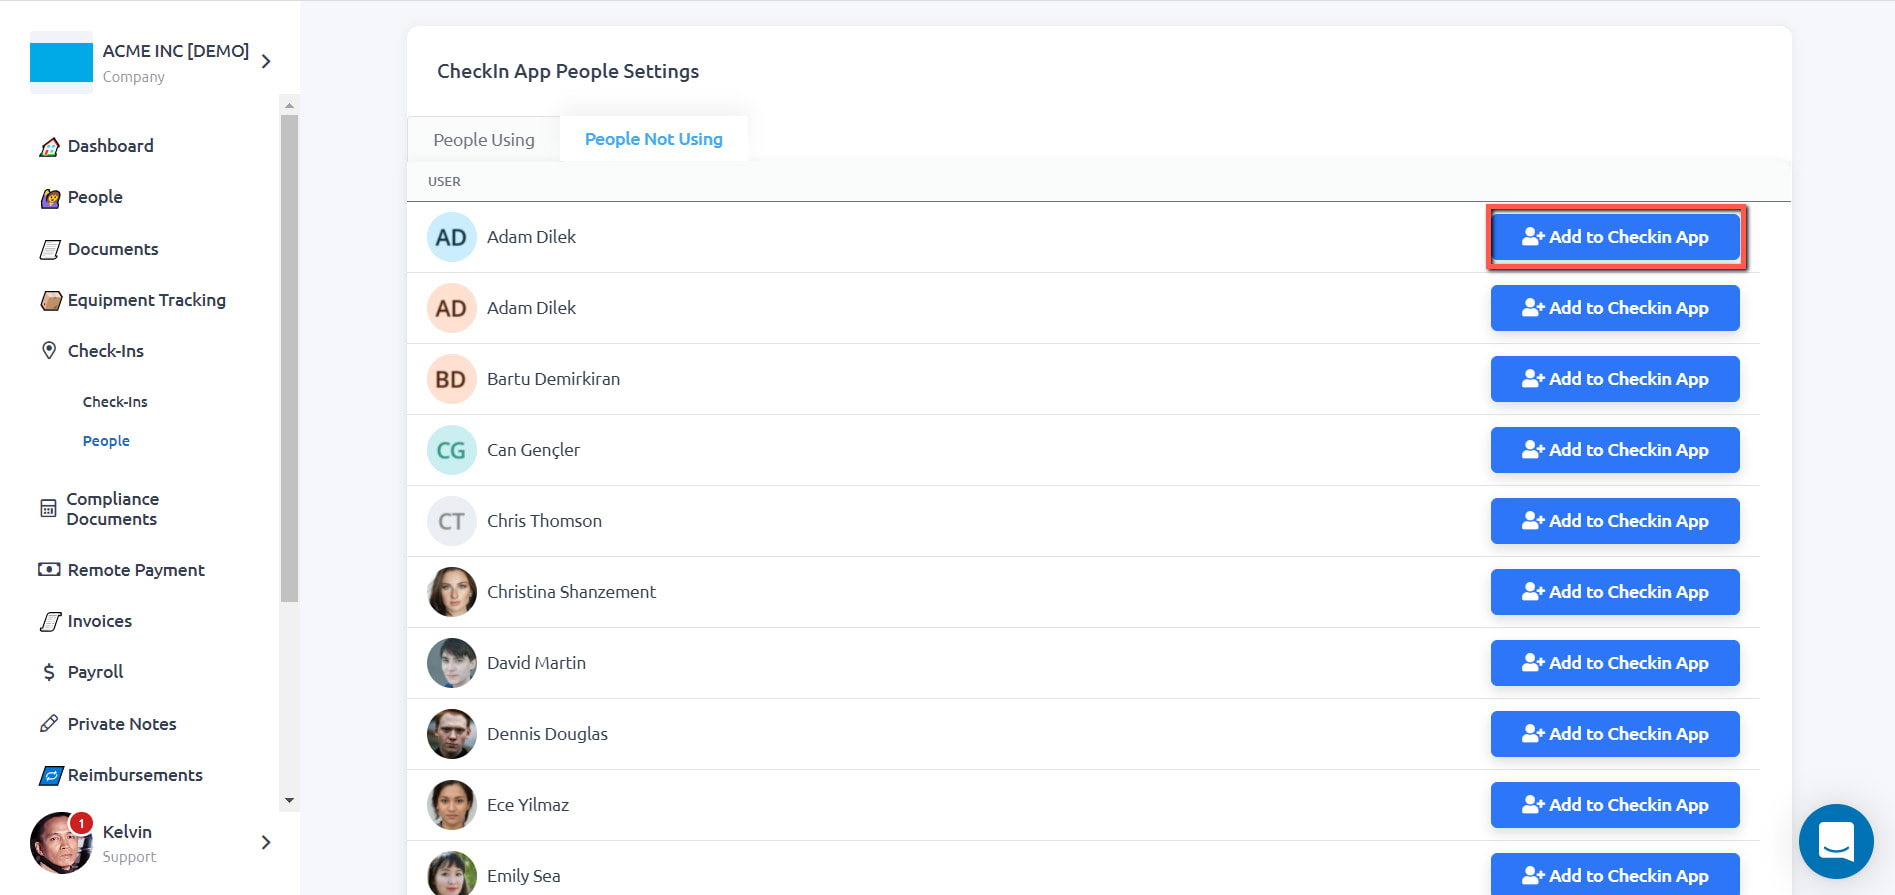
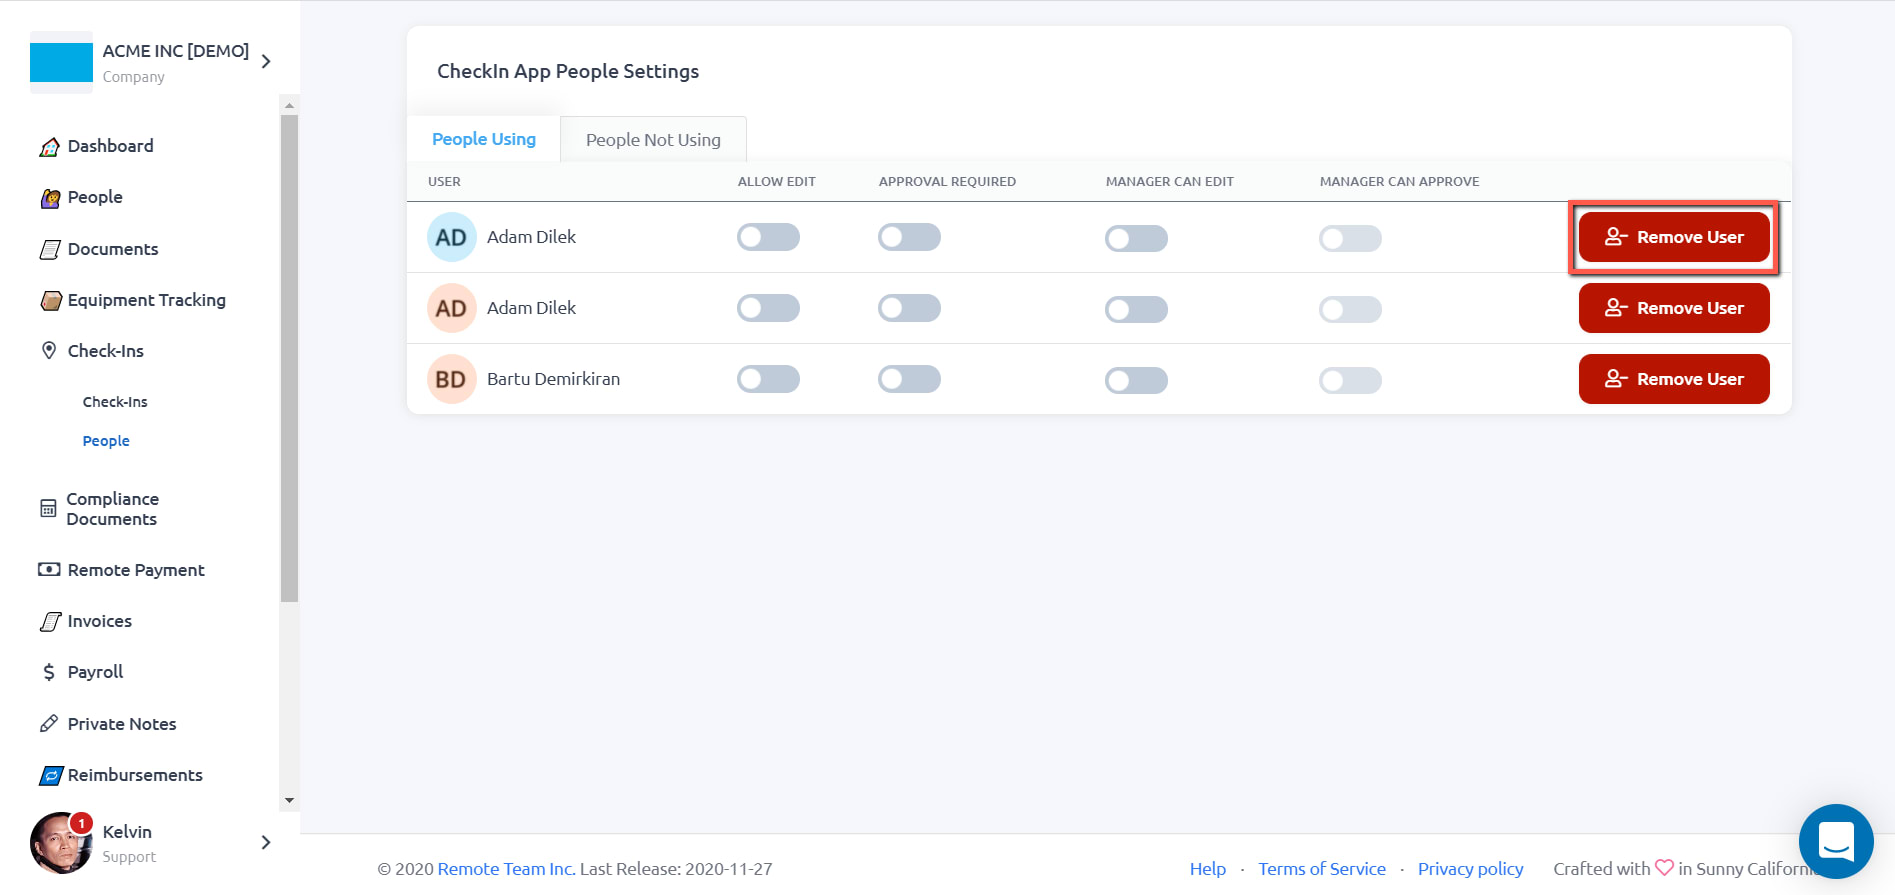
STEP 3: Go to the People Not Using tab.

STEP 4: To add people, click on the Add to Checkin App button for every team member that you would like to use Check-in App as their time tracker.
STEP 5: To remove people from using the app as their time tracker, click on Remove User button under the People Using tab.
If you are previously using another time tracking app and will be switching to Check-in App, please follow the below steps after doing the instructions on the above mentioned article.
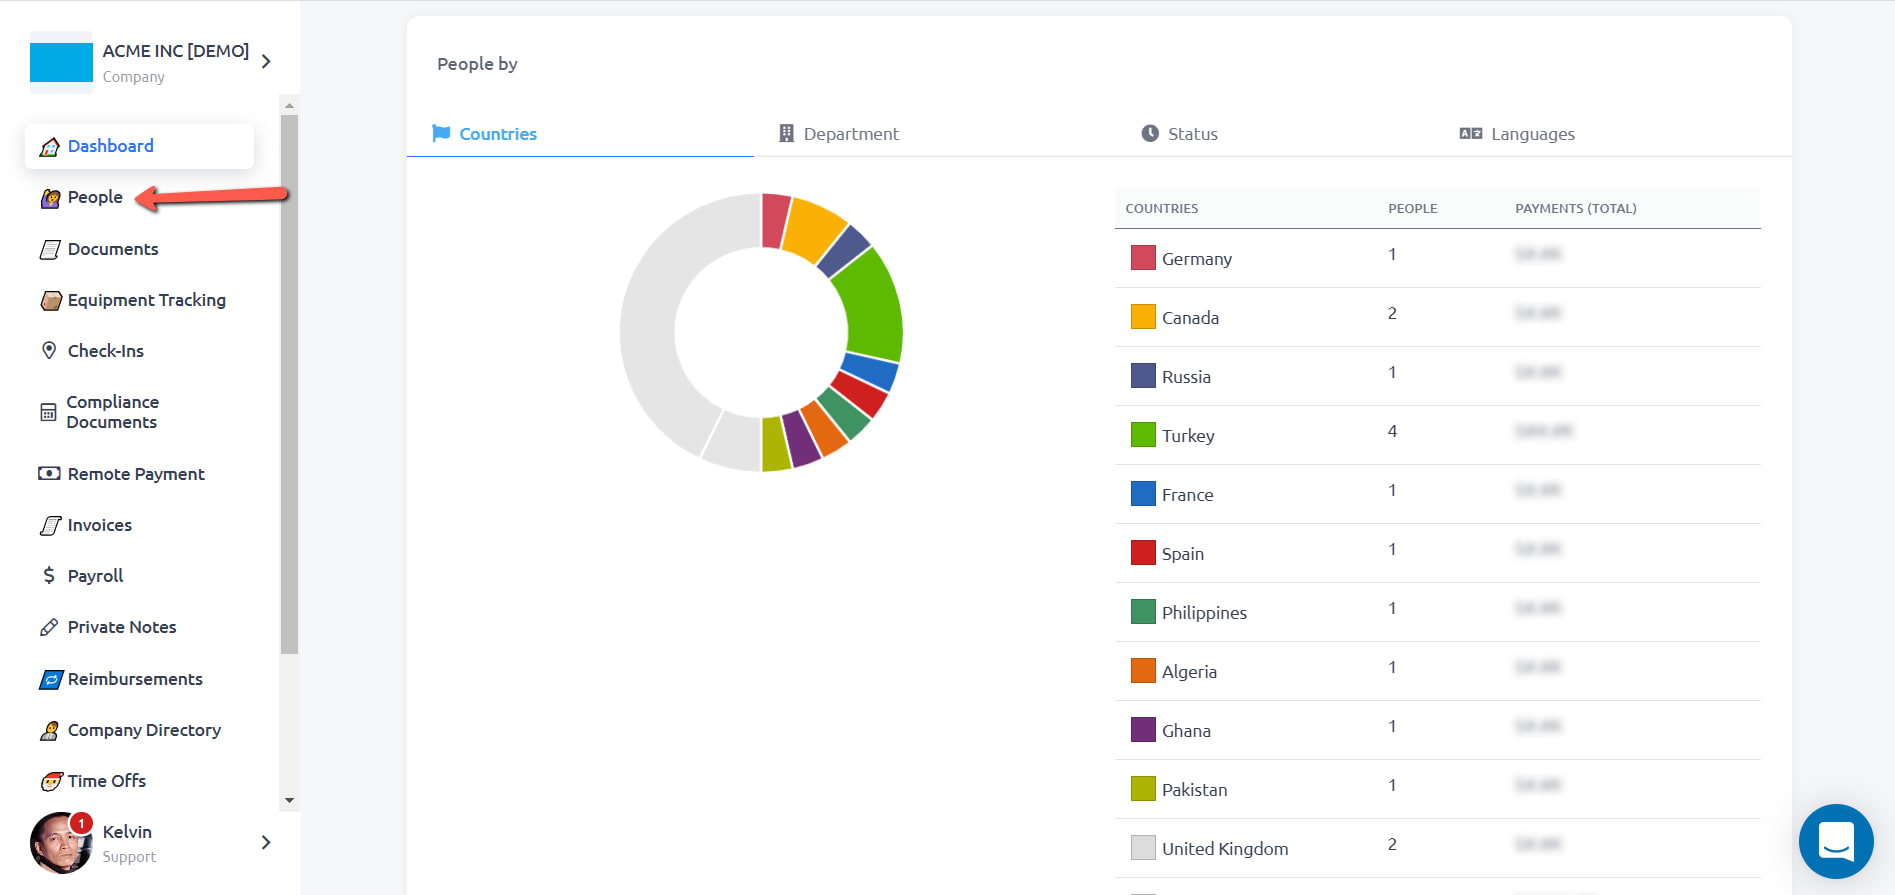
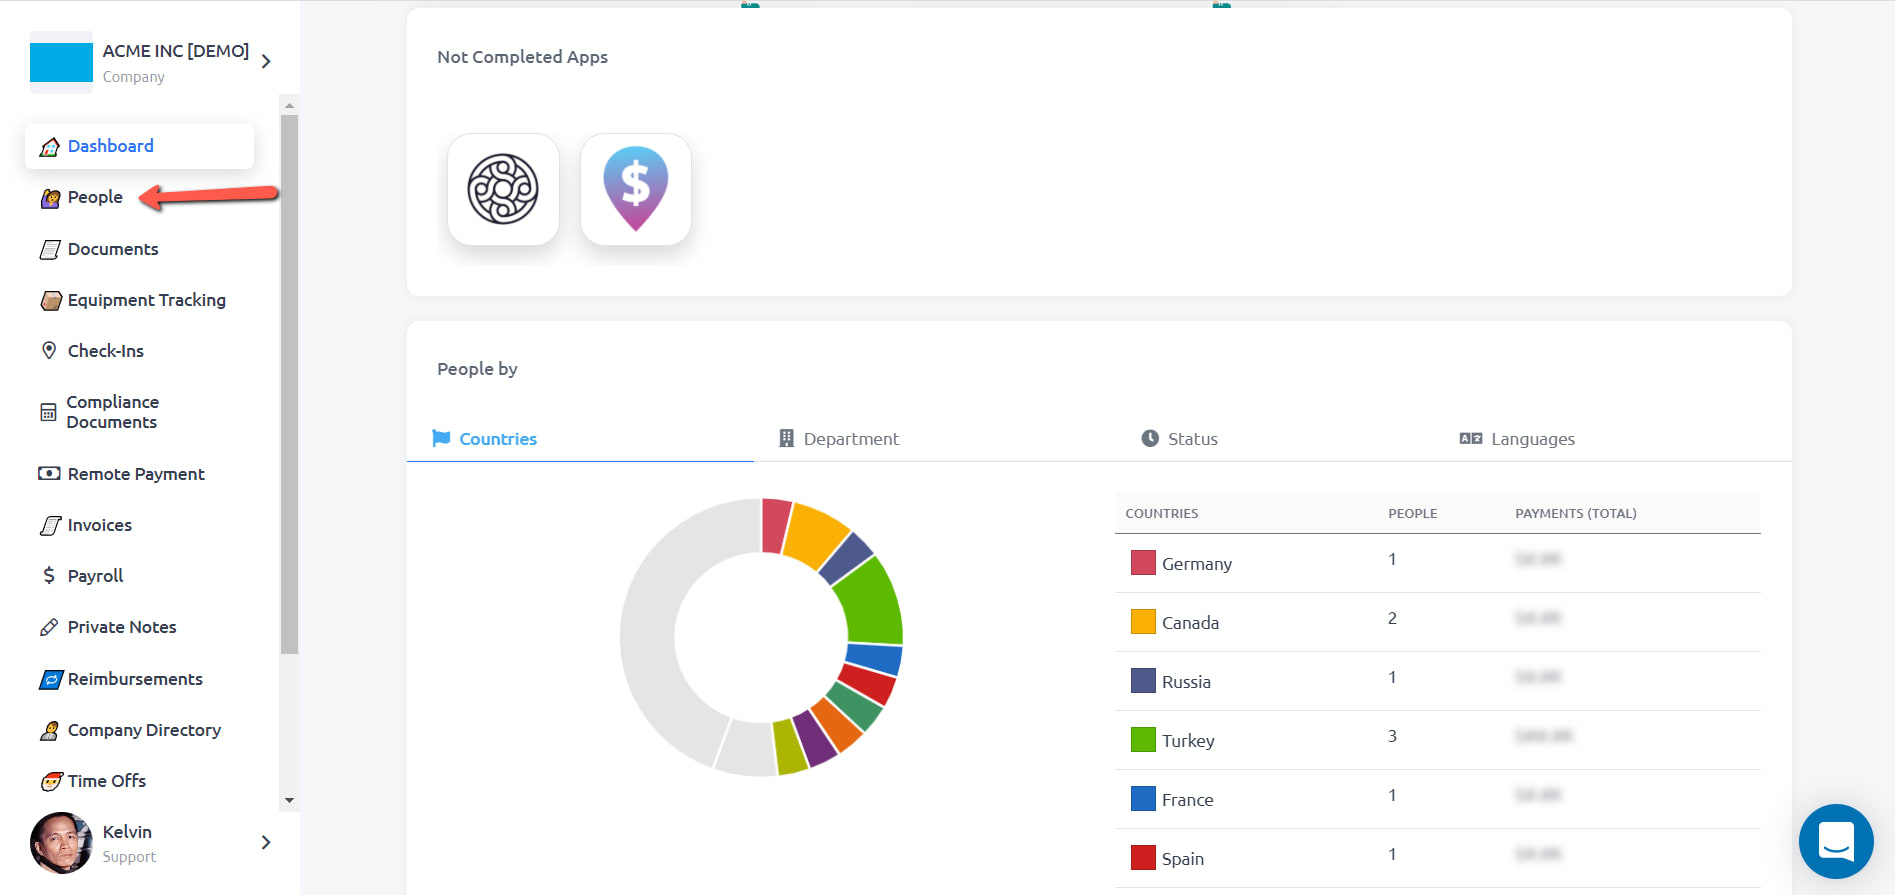
STEP 1: On your RemoteTeam dashboard, click on People.
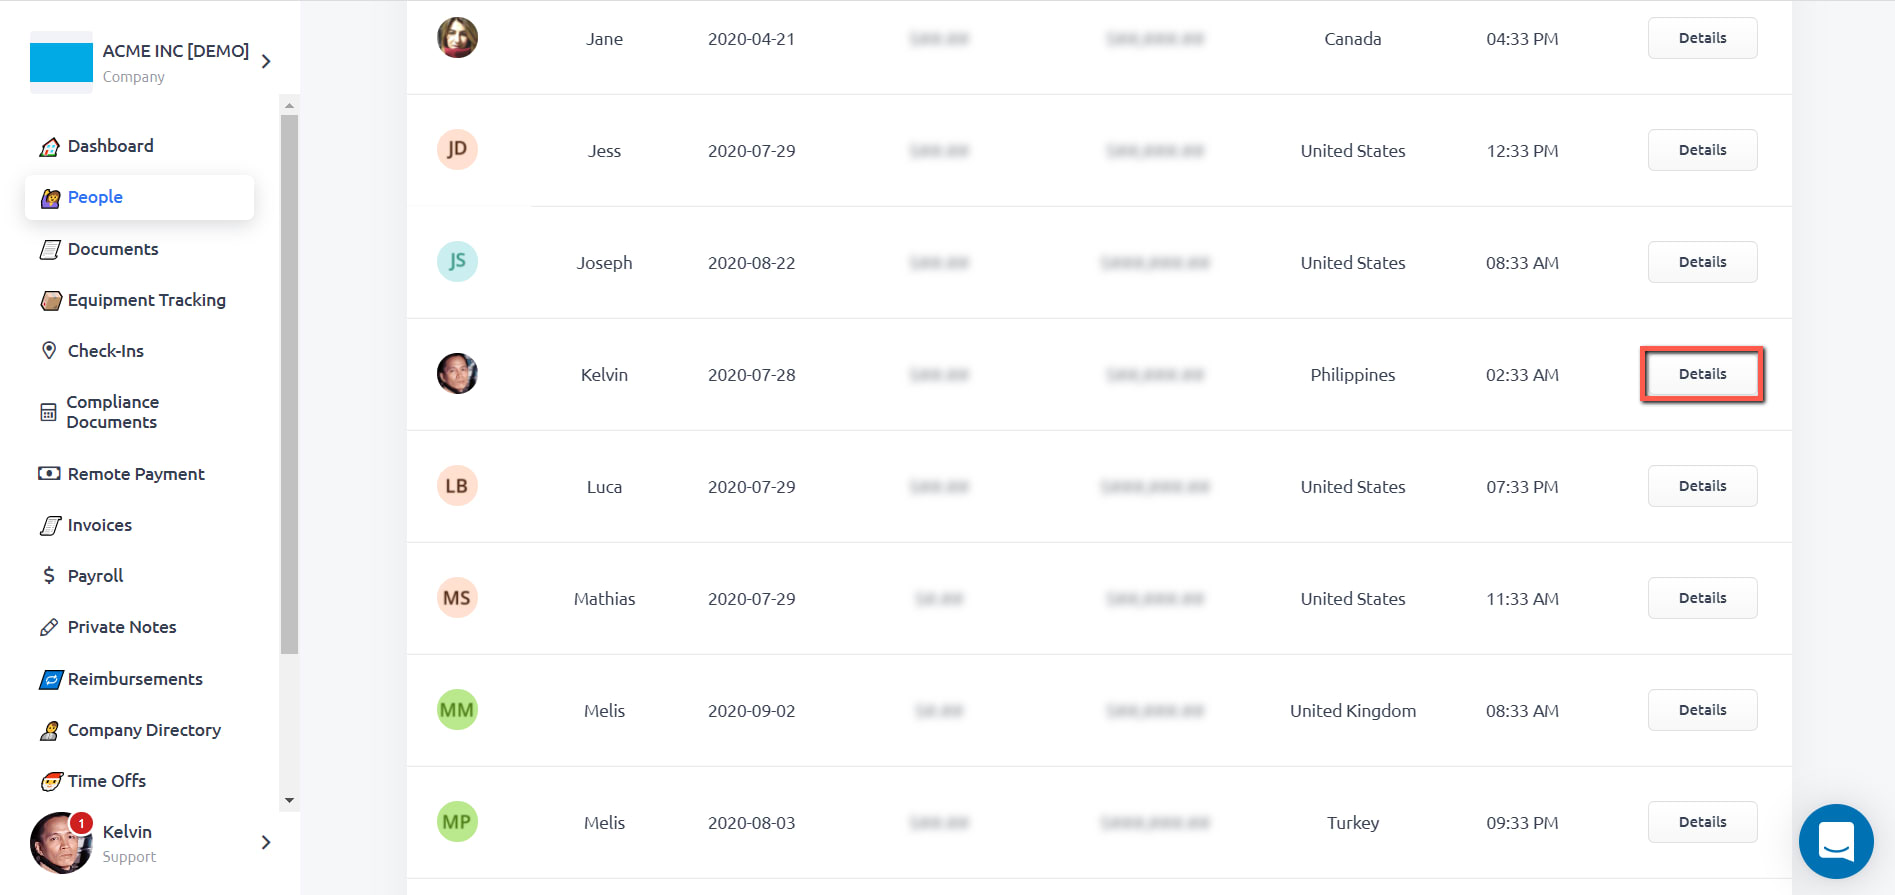
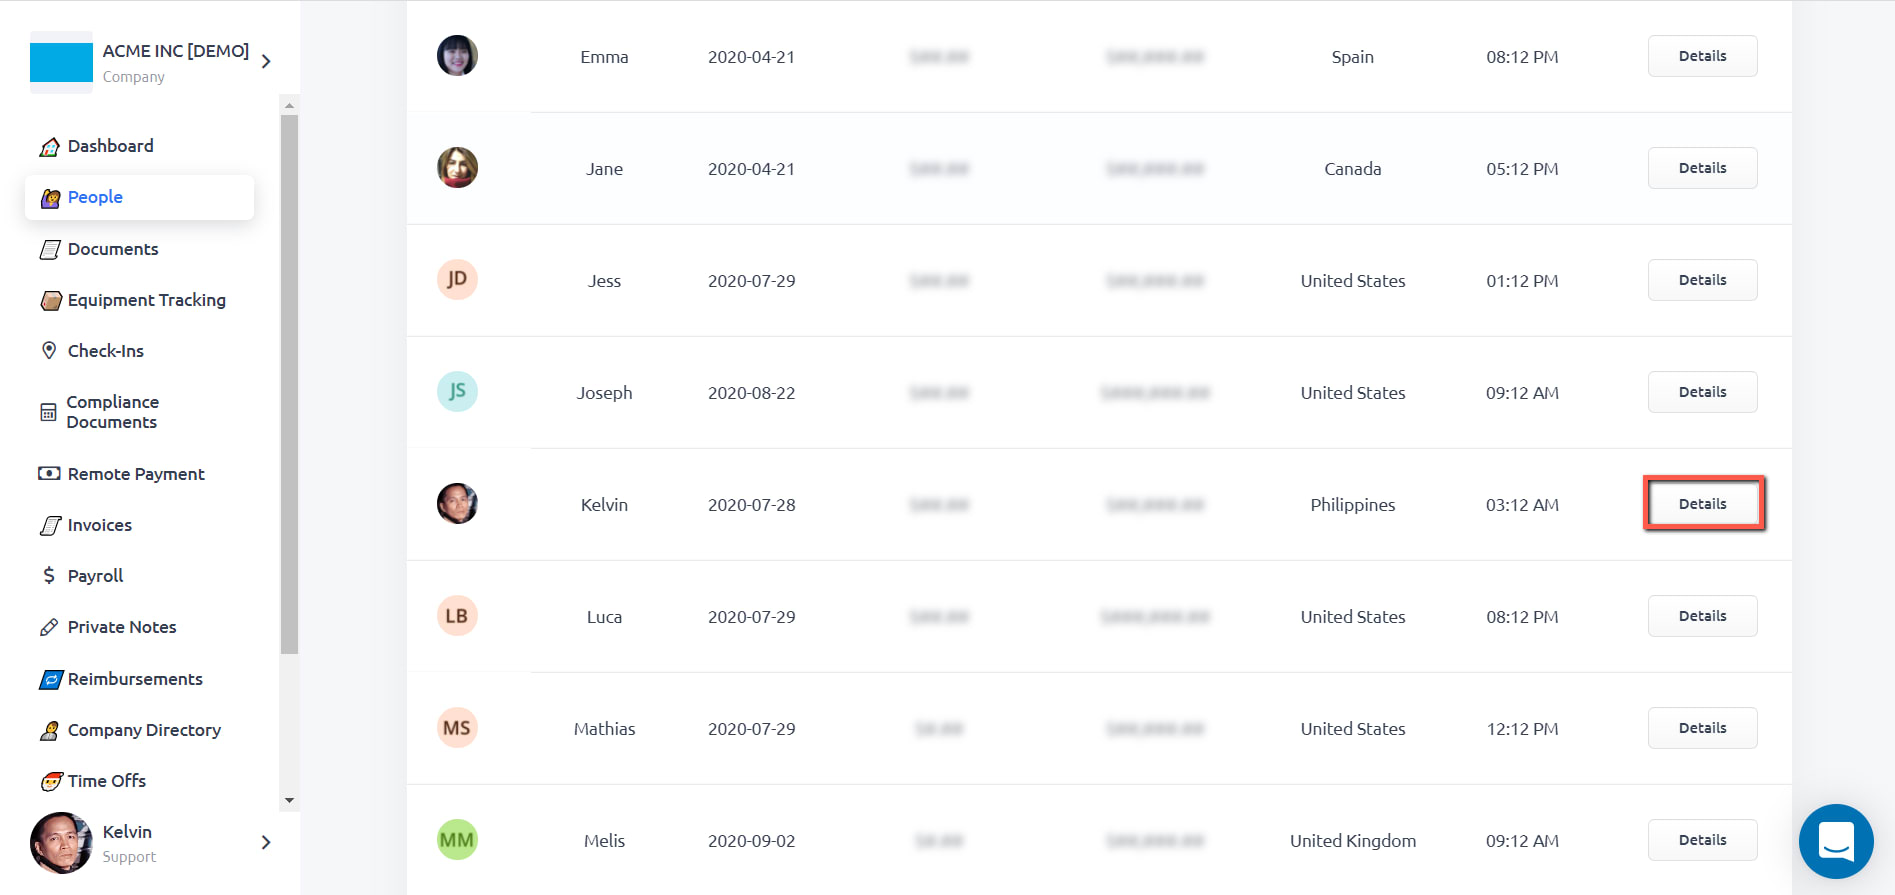
STEP 2: Click the Details button of the team member that you would like to assign the Check-in App.
STEP 3: Click on Time Tracking.

STEP 4: Click the Change button on top, select Check-in App and then click the Complete button.

You will then see a message at the top saying “Time tracking app was successfully updated for the team member.“

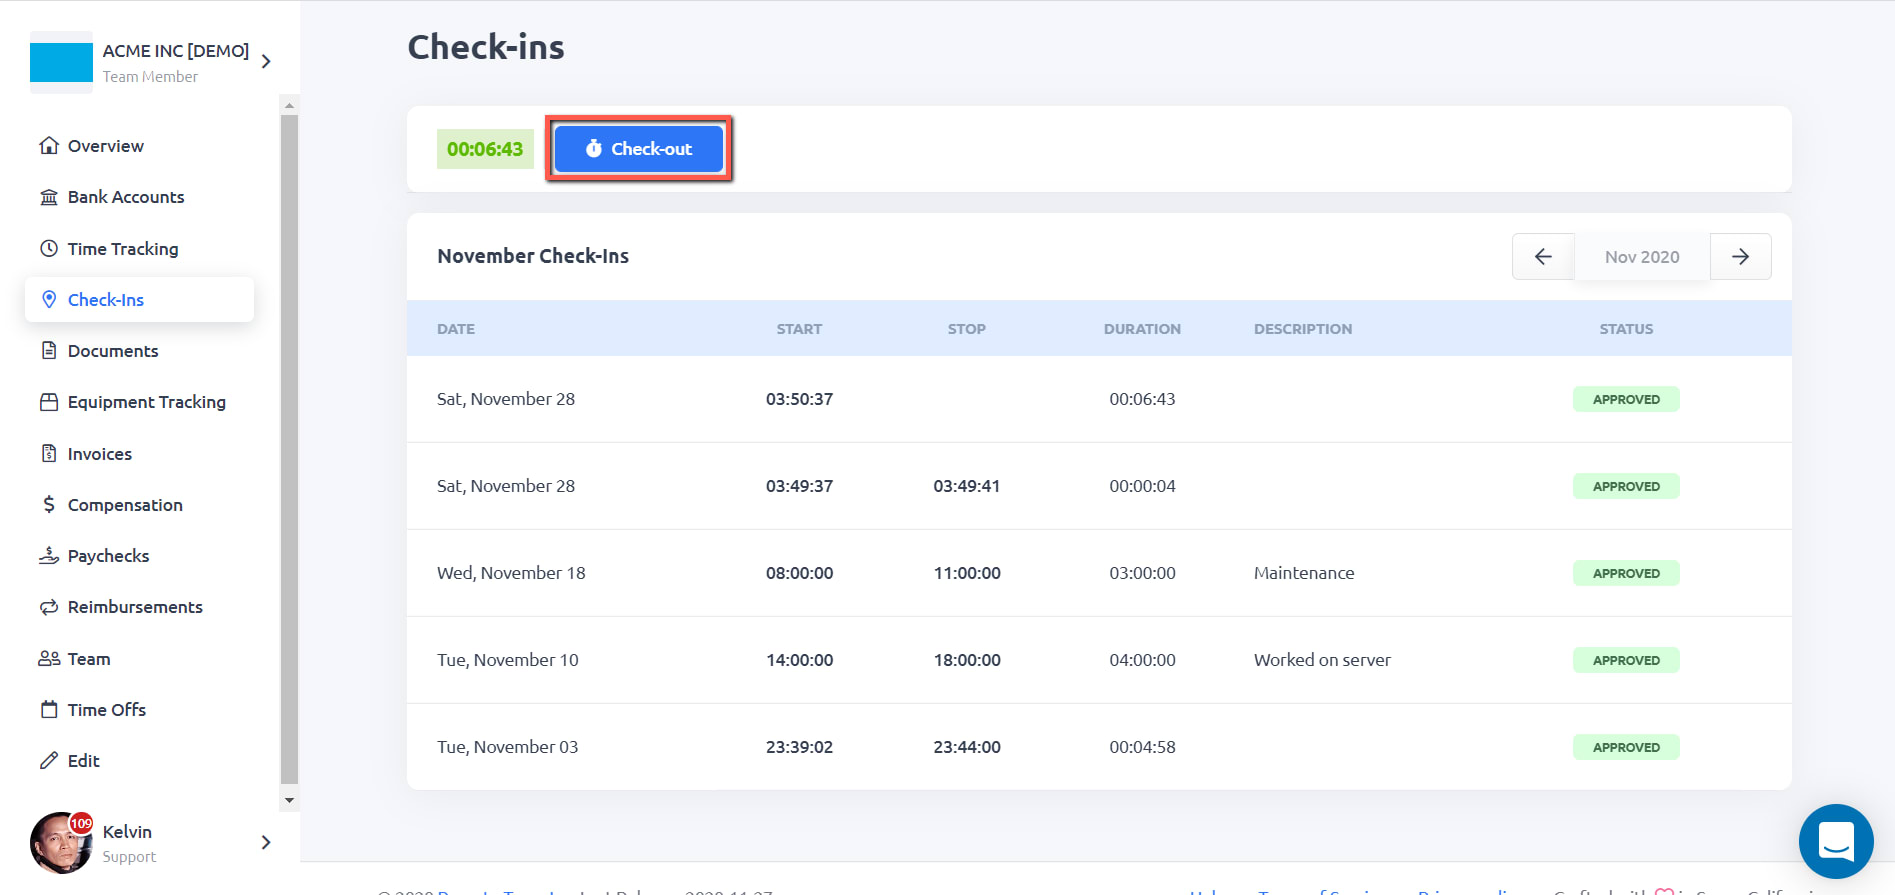
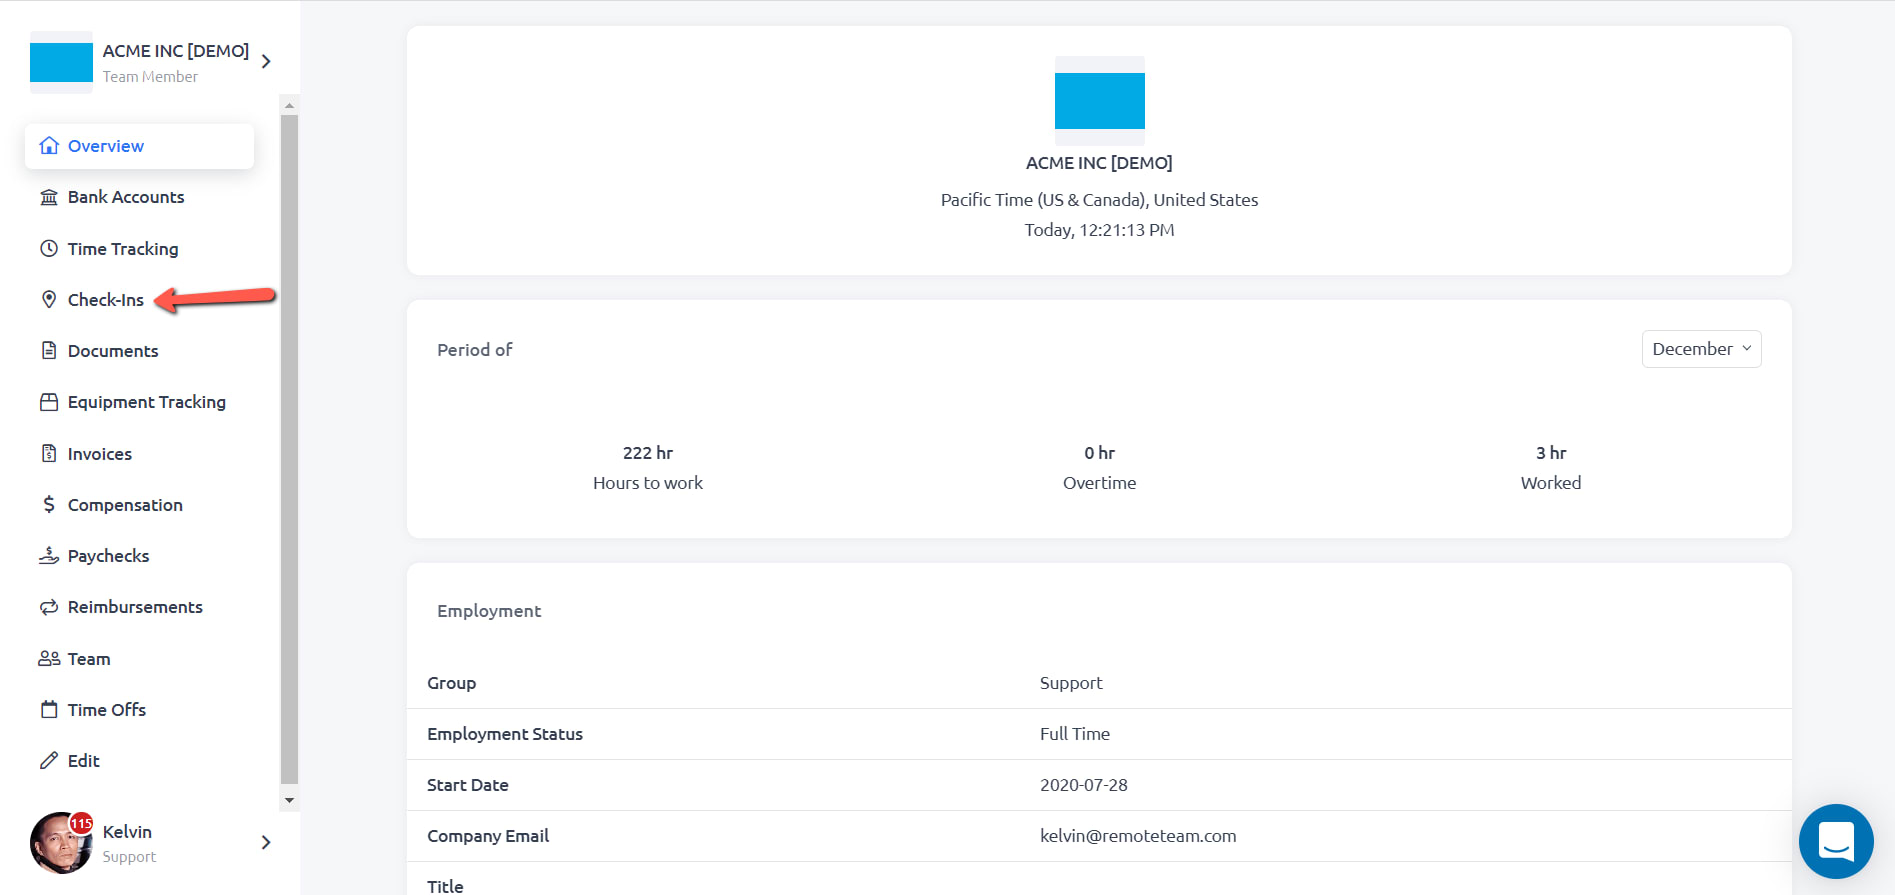
STEP 1: On your RemoteTeam dashboard, click on Check-Ins.

STEP 2: Click on the Check-in button and start working.
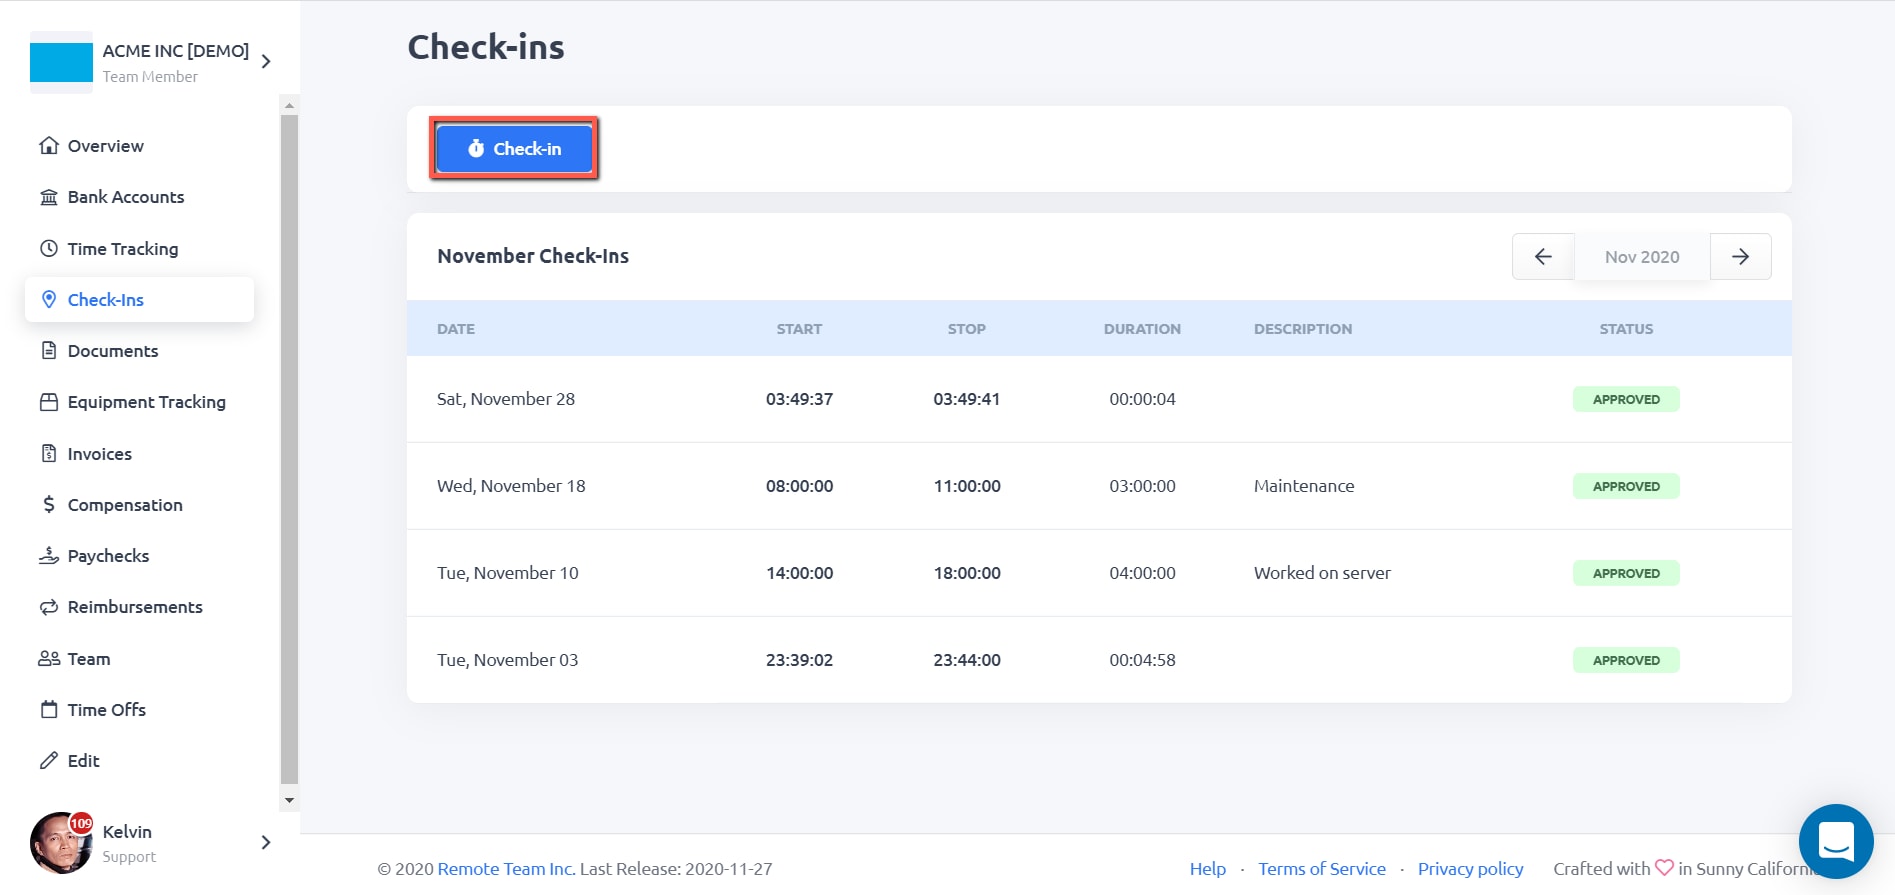
STEP 3: Once done working for the day, click on the Check-out button.
By default, team members are not able to edit their Check-in times. You could request your company admins to enable this for you.
STEP 1: On your RemoteTeam dashboard, click on People.
STEP 2: Click the Details button for your profile.
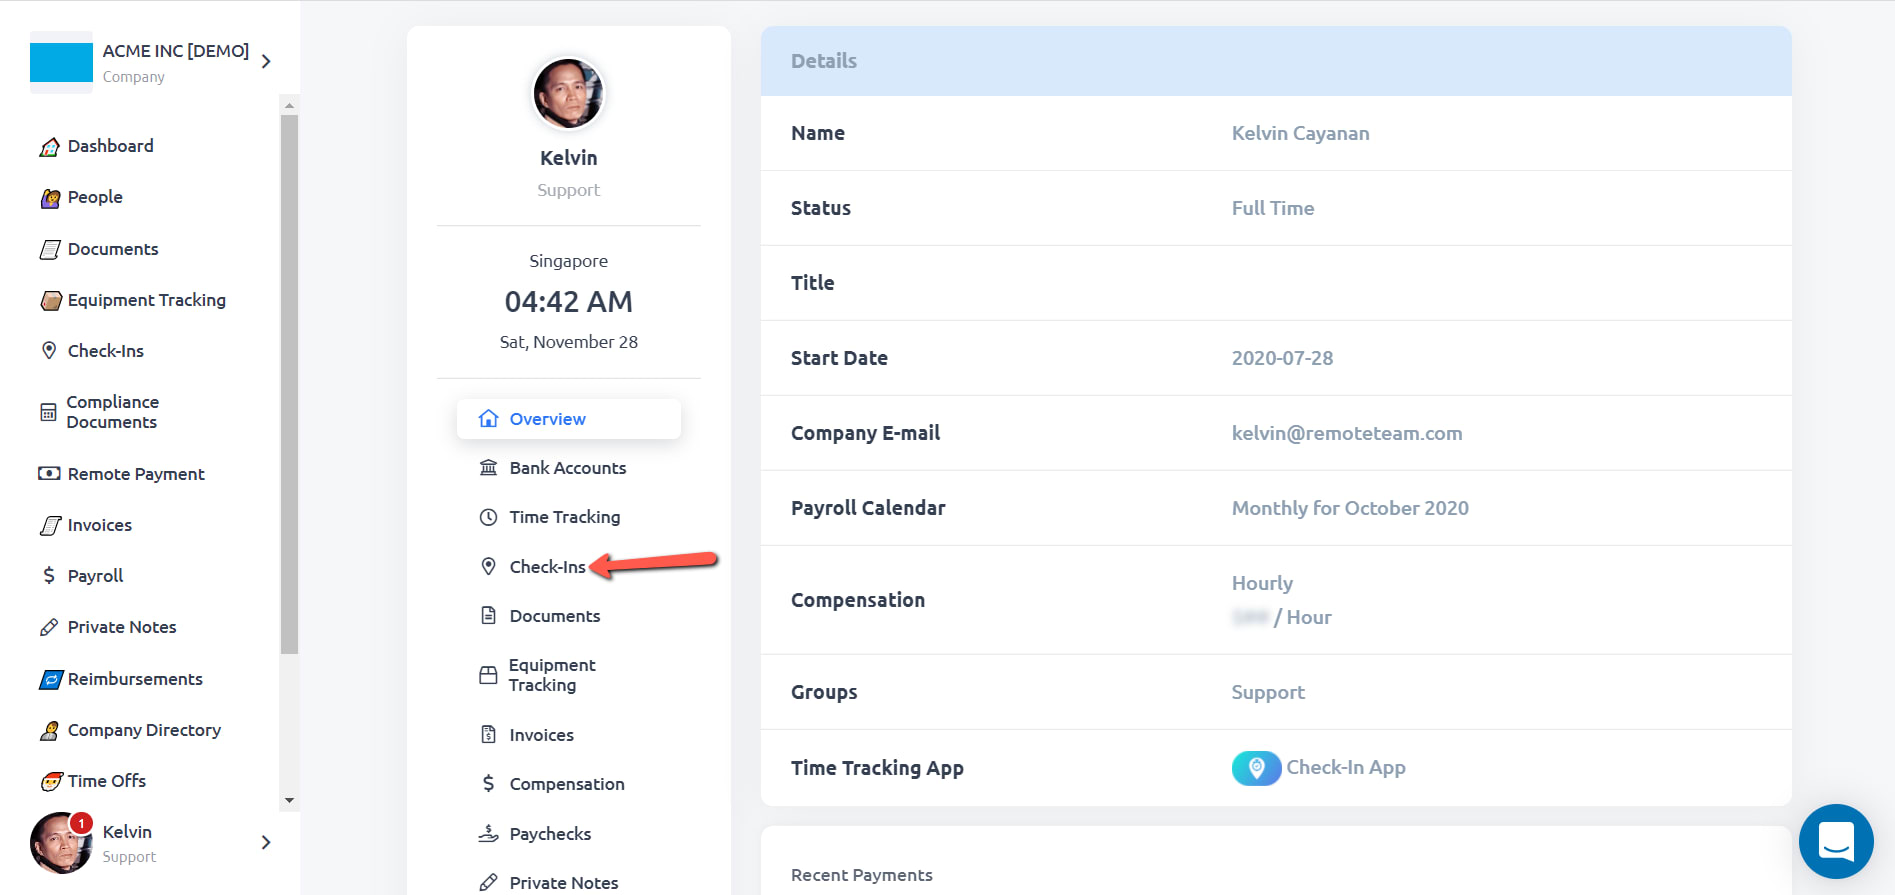
STEP 3: Click on Check-ins.
STEP 4: Click the Check-in button and start working.
STEP 5: Once you’re done for the day, click the Check-out button.
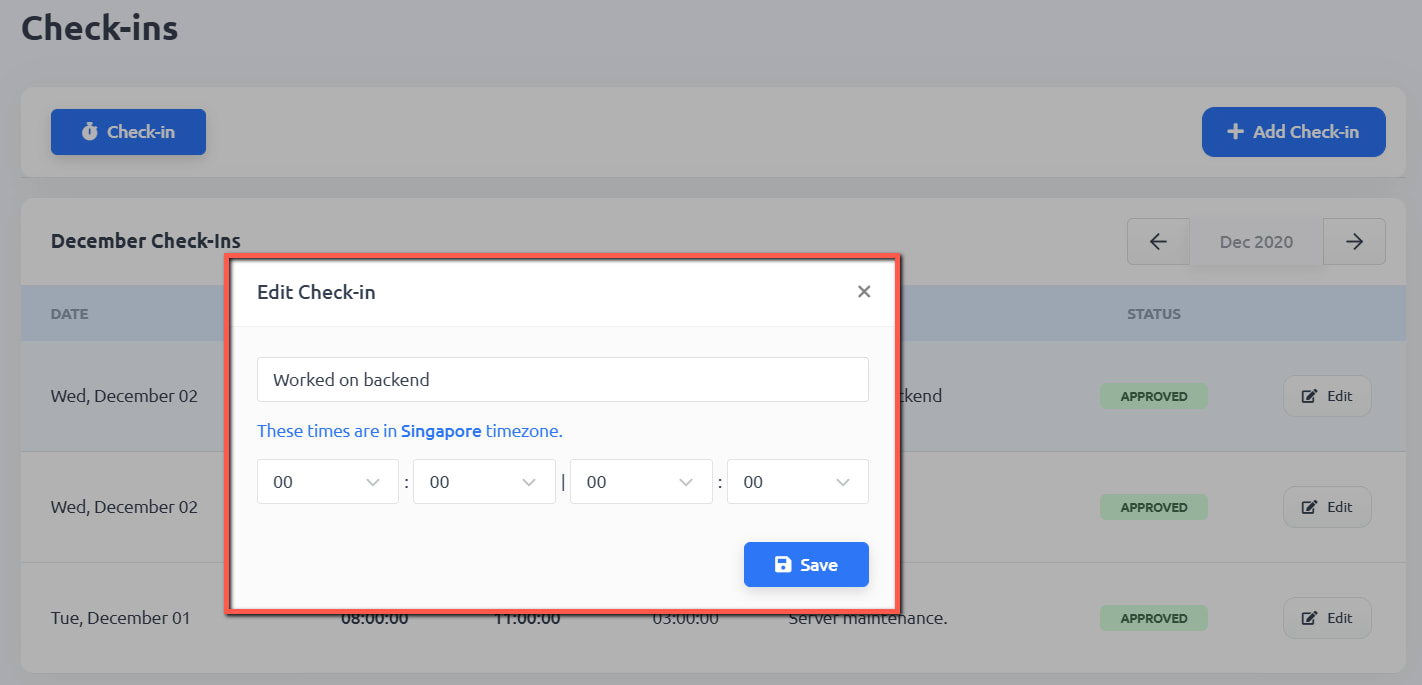
STEP 6: Click the Edit button to add a Description of what you’ve worked on for the day.
STEP 7: Add your work description and click Save button once done.
STEP 1: On your RemoteTeam dashboard, click on Check-ins.

STEP 2: Click the Add Check-in button.
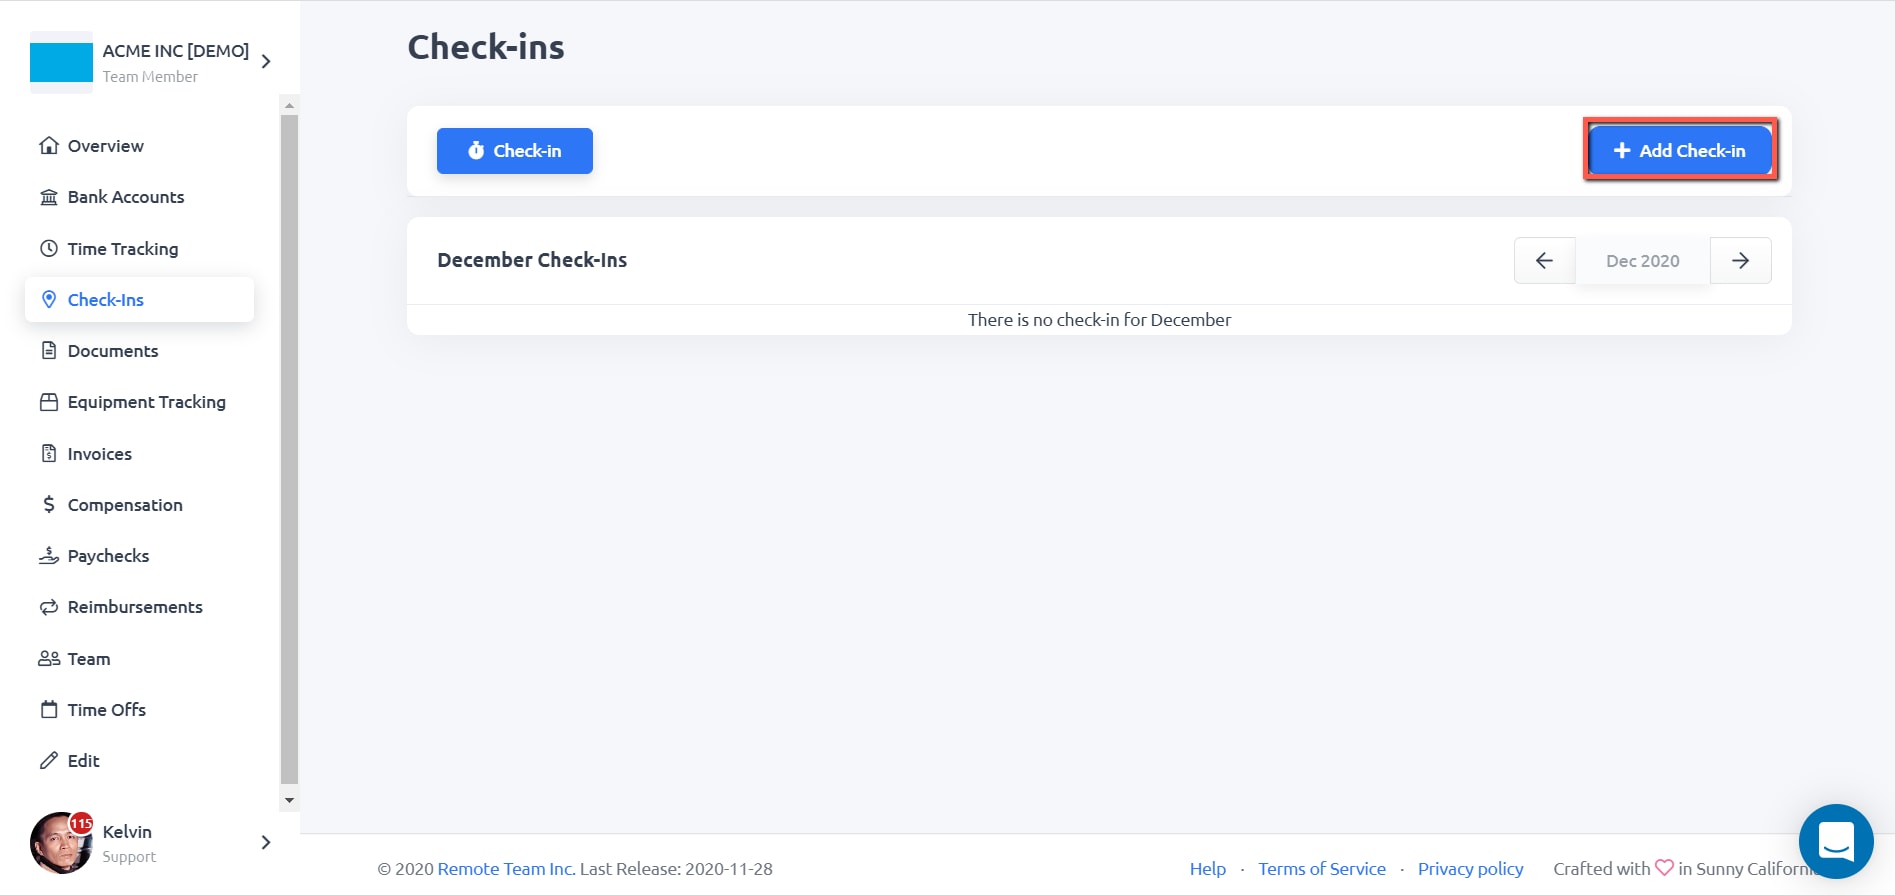
STEP 3: Put in your work description, date and time you worked on.
Click Add button to save the information.


STEP 1: Click on People on your RemoteTeam dashboard.

STEP 2: Click the Details button for the team member that you would need to add offline time.

STEP 3: Click on Check-Ins.

STEP 4: Click on Add Check-in button.
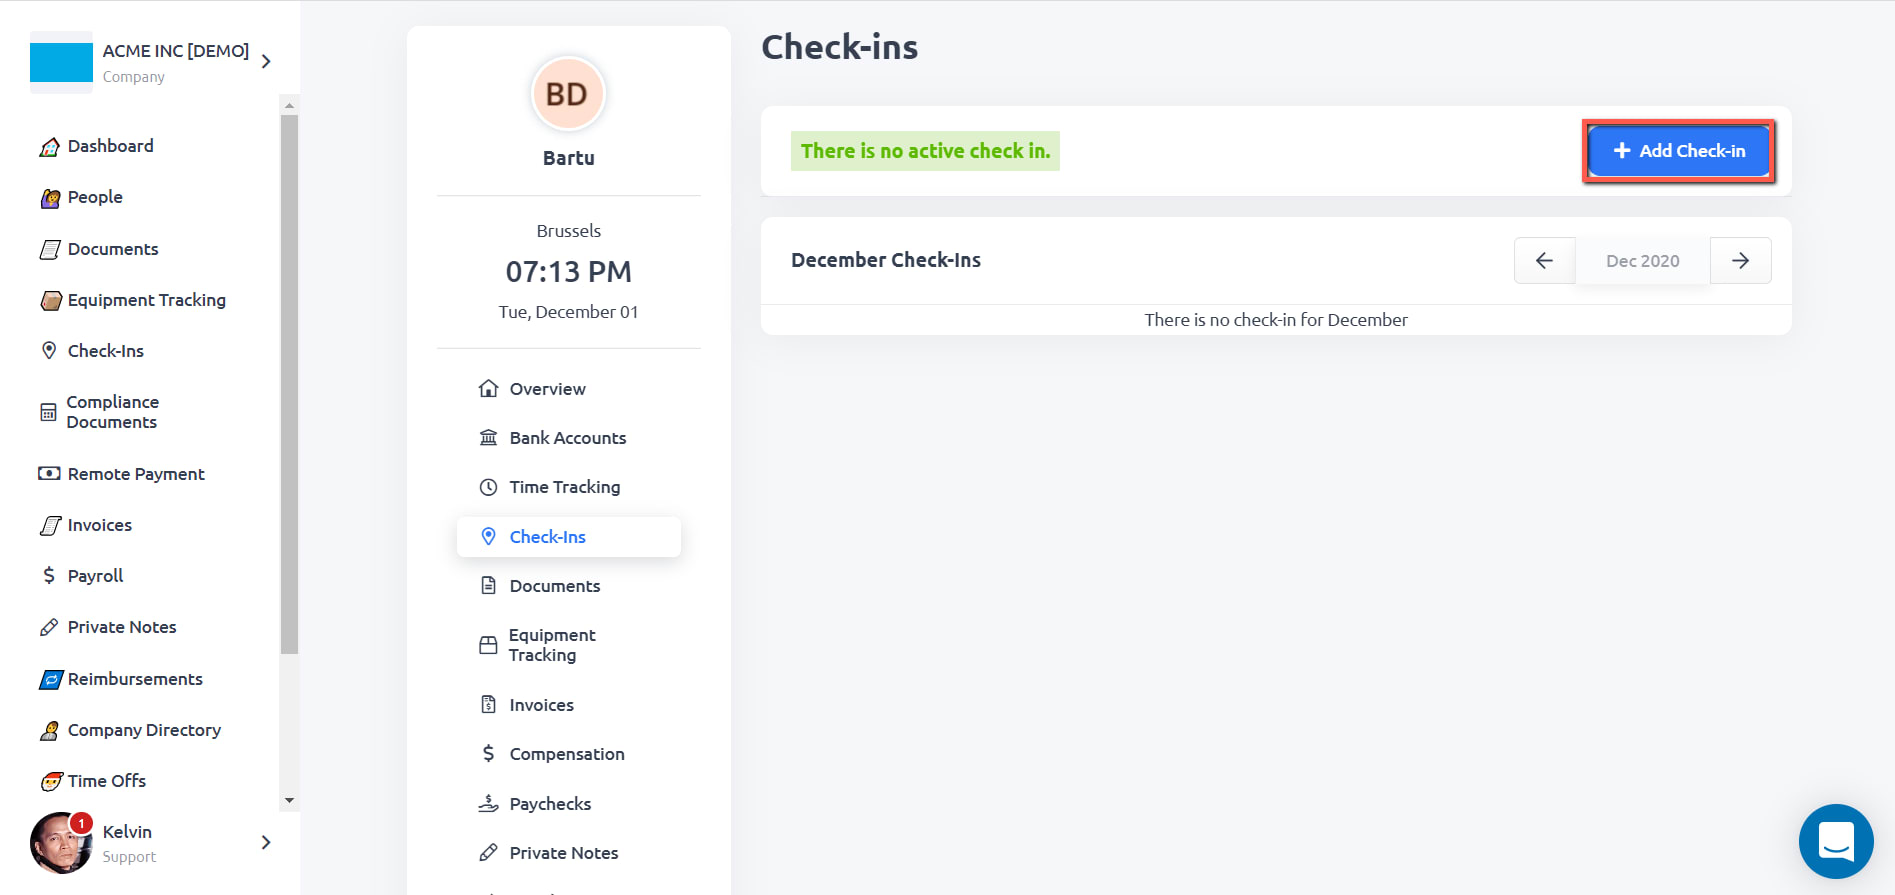
STEP 5: Enter your work description, the date and time that you worked on it.
Click the Add button to save the information you added.

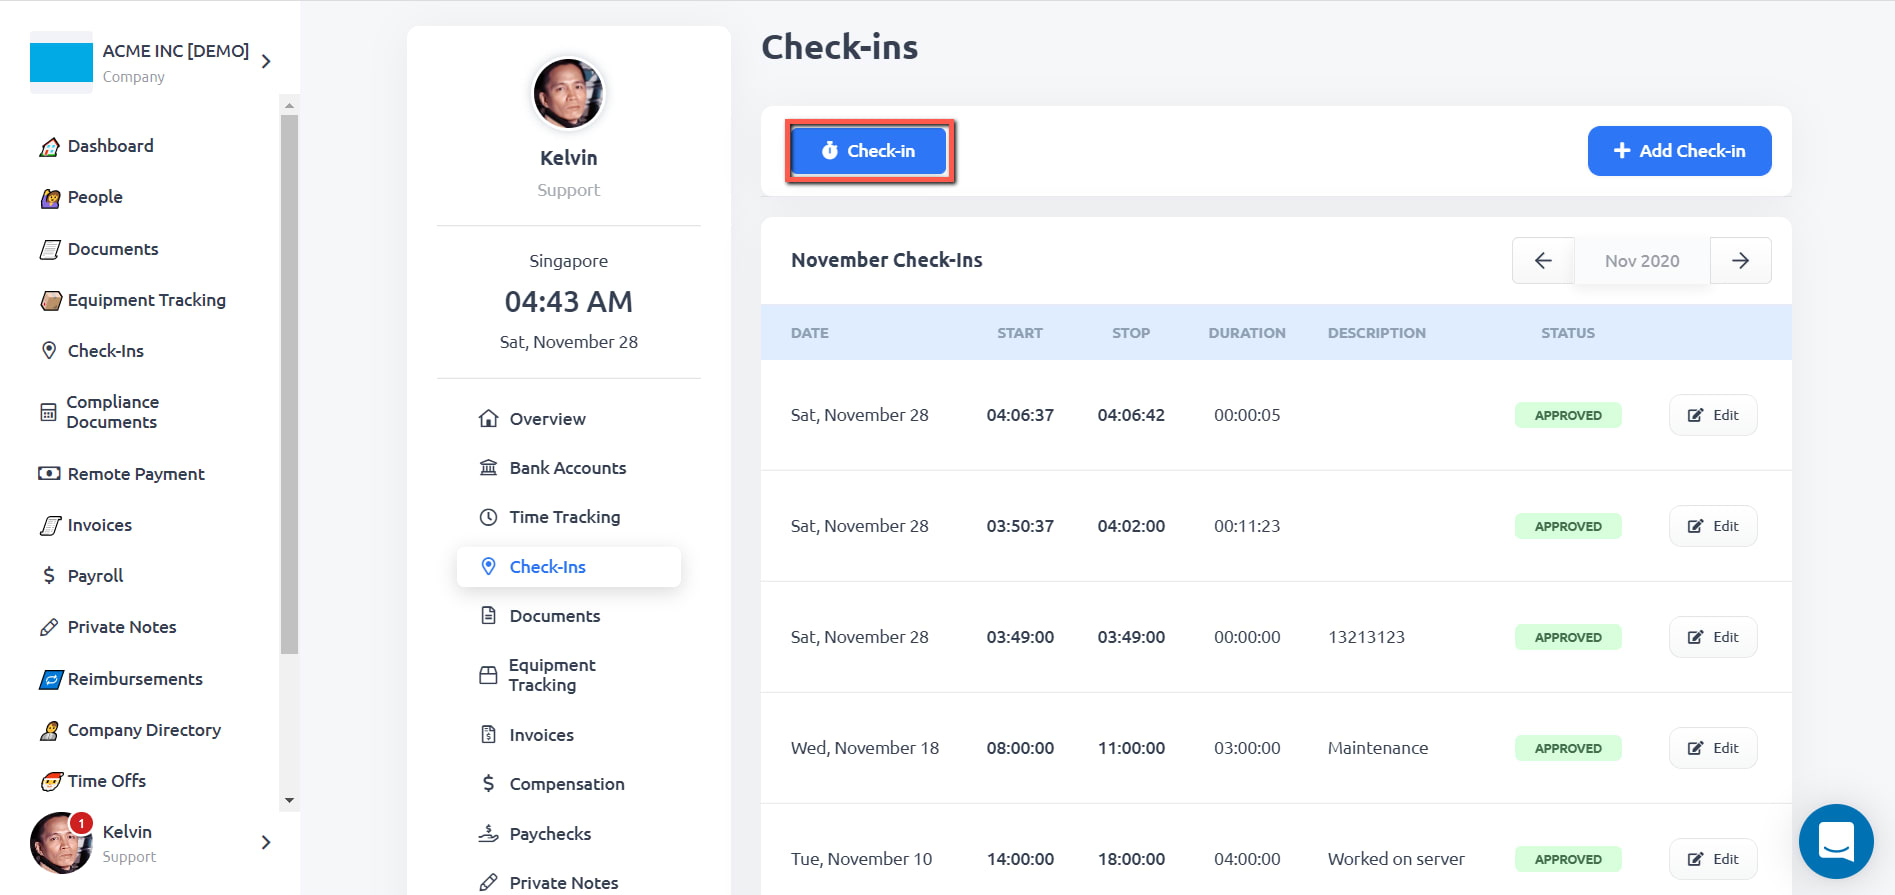
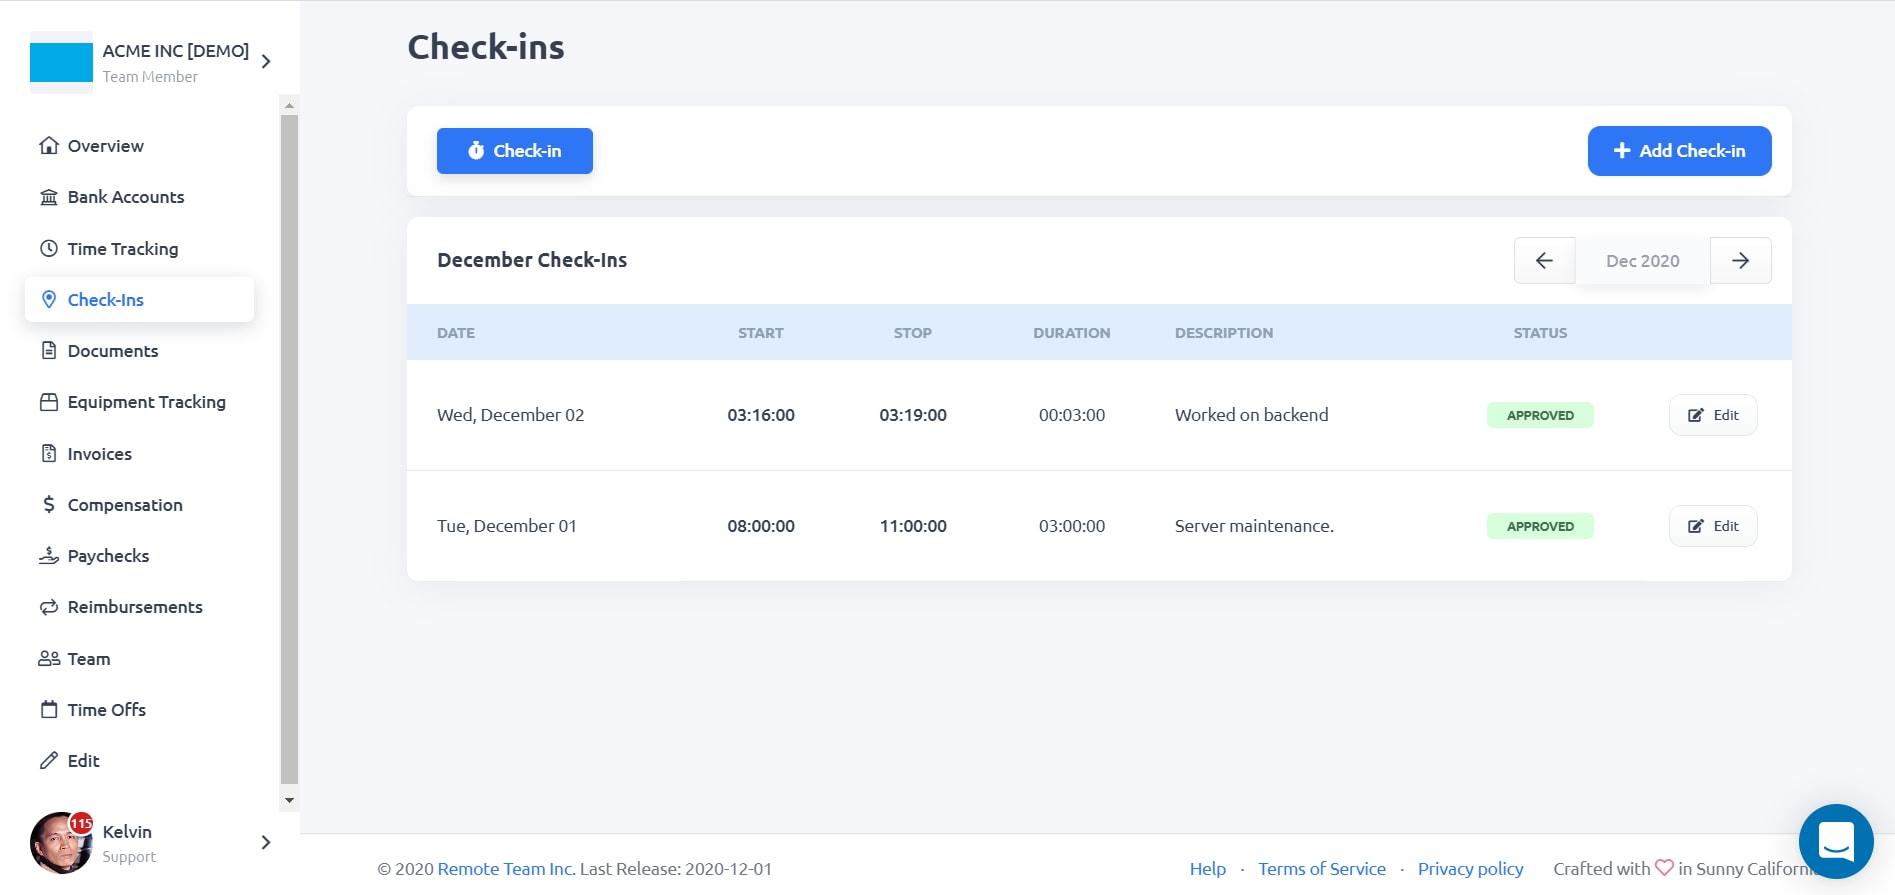
STEP 1: On your RemoteTeam’s dashboard, click on Check-Ins.

STEP 2: On the Check-Ins page, click on the Check-In button to start tracking your time.
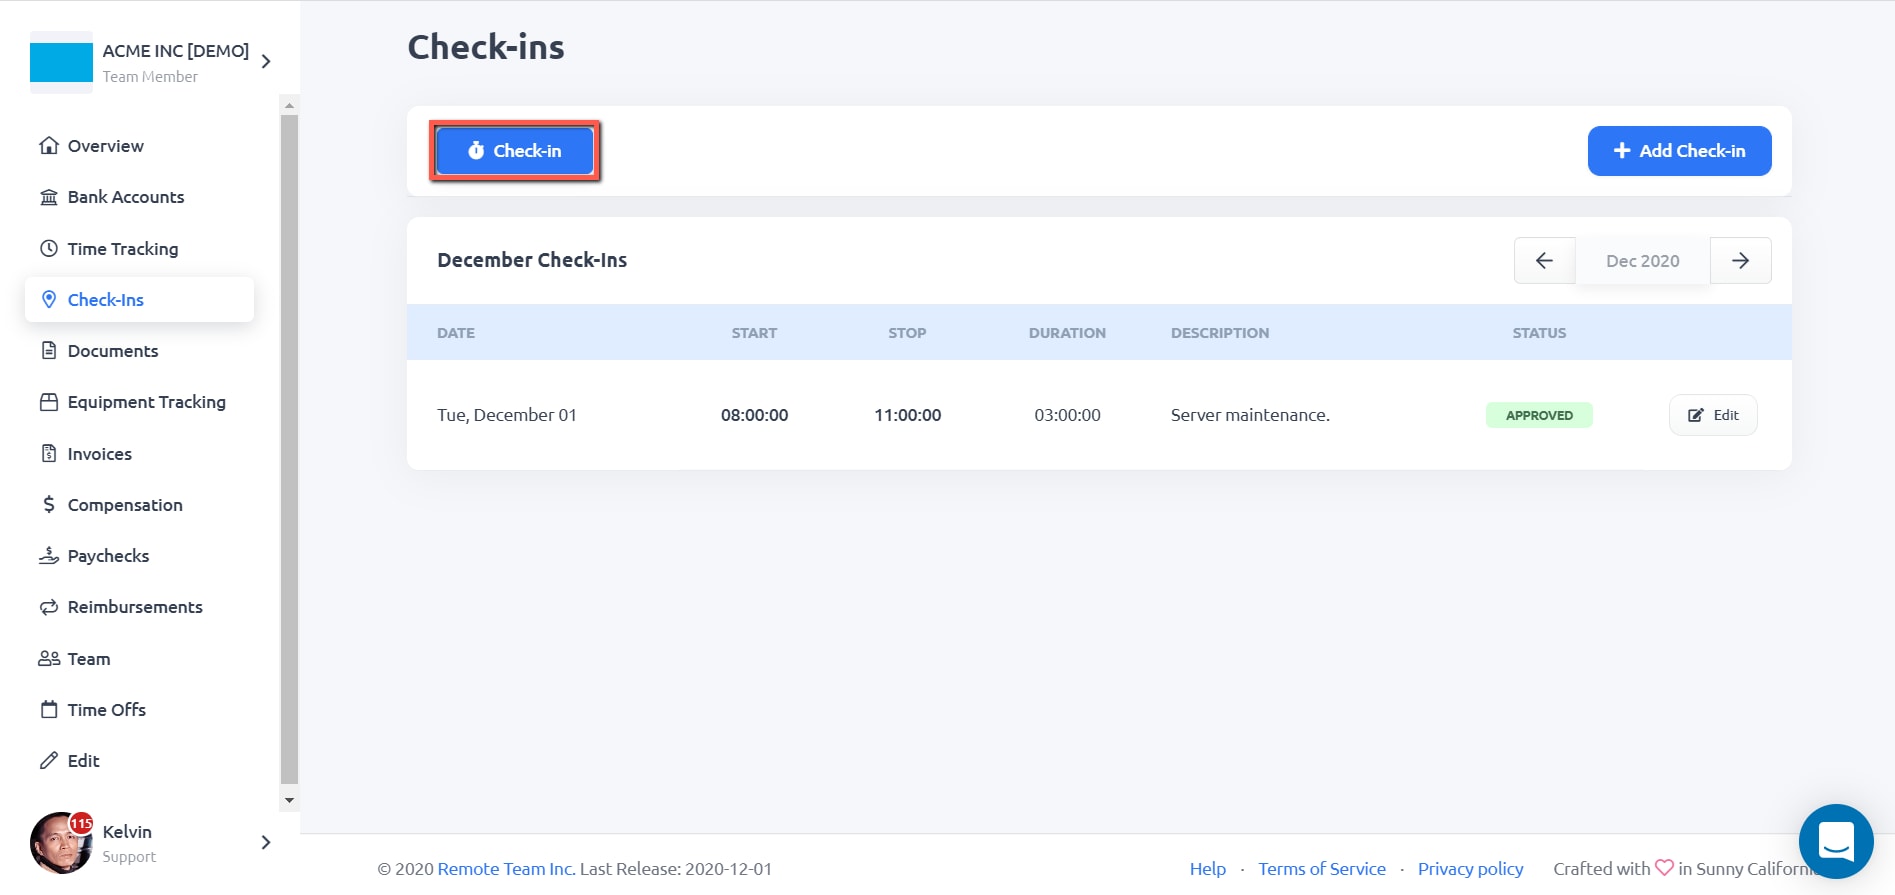
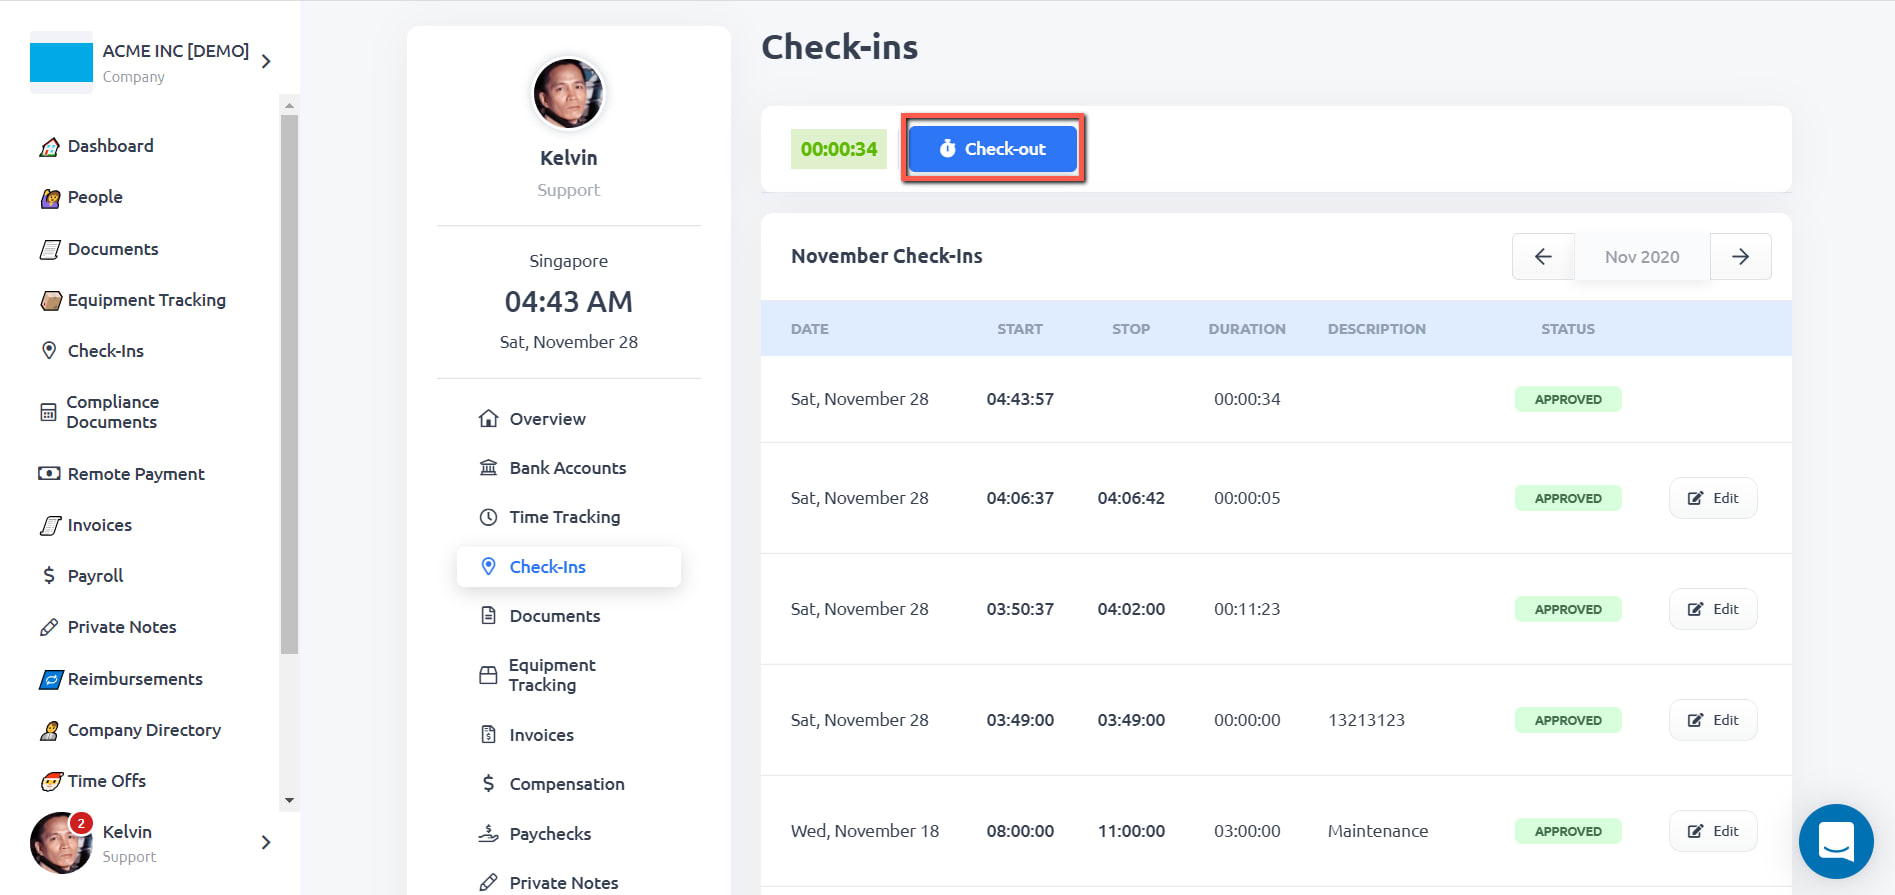
STEP 3: Once you’re done working, you need to click on the Check-out button for time tracking to stop.

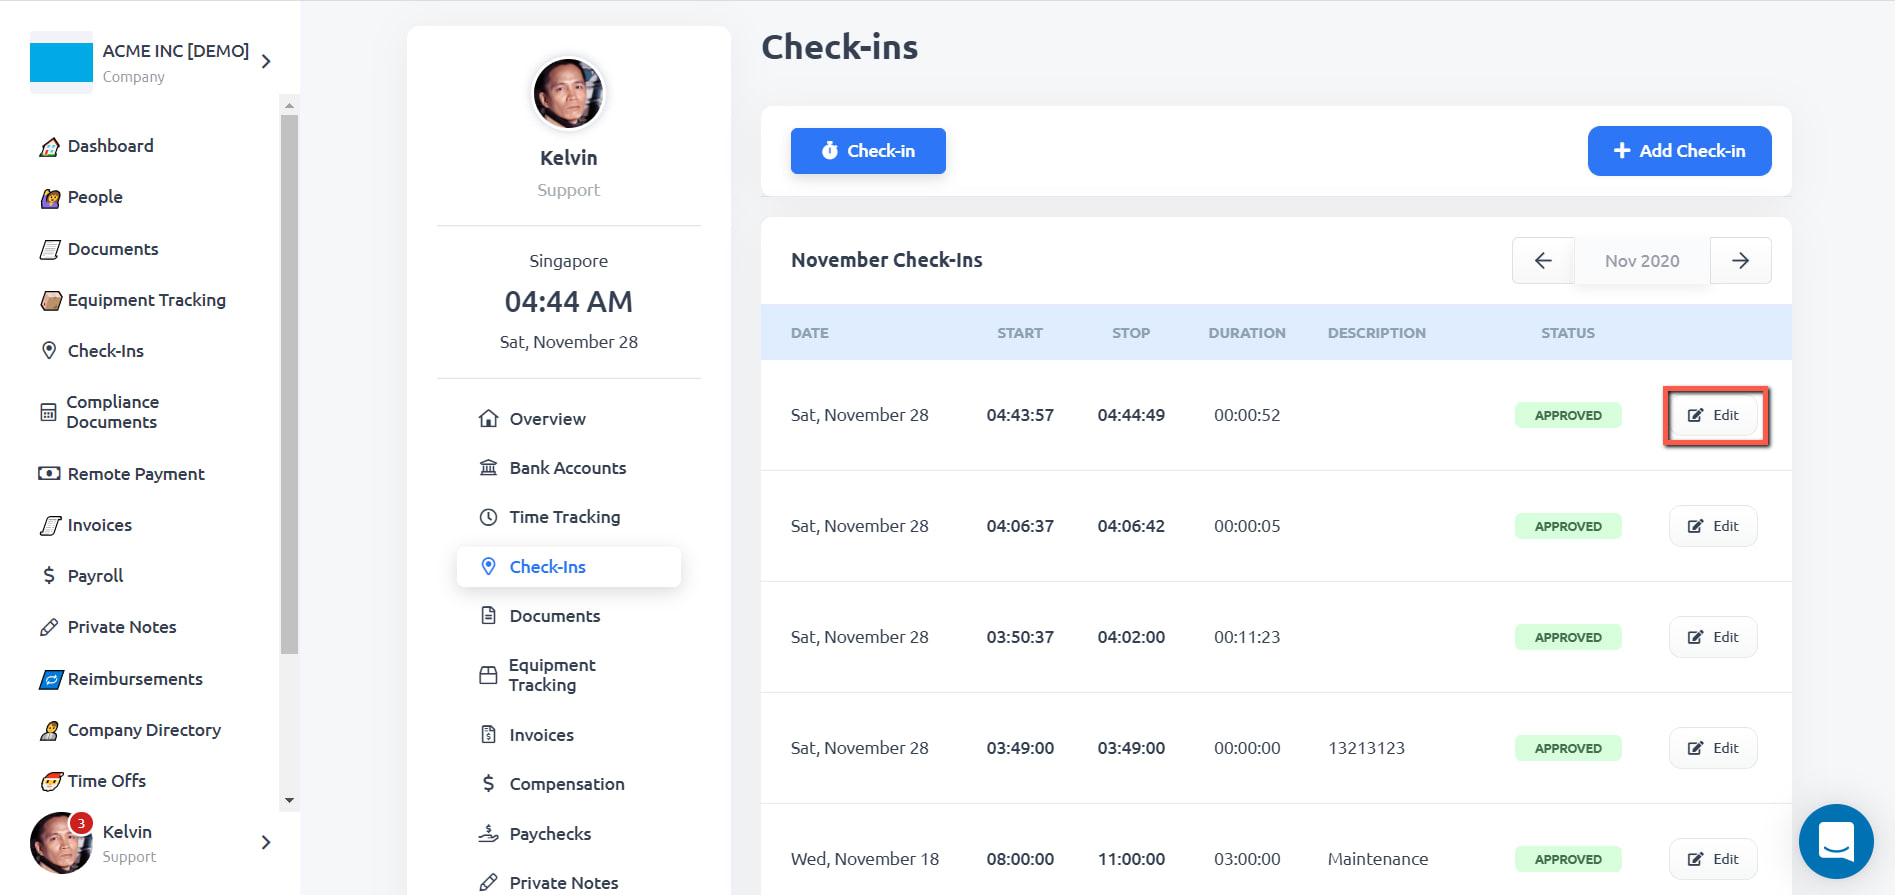
STEP 4: You could add a Description of what you worked on in the tracked time details.
Click on the Edit button to do so.
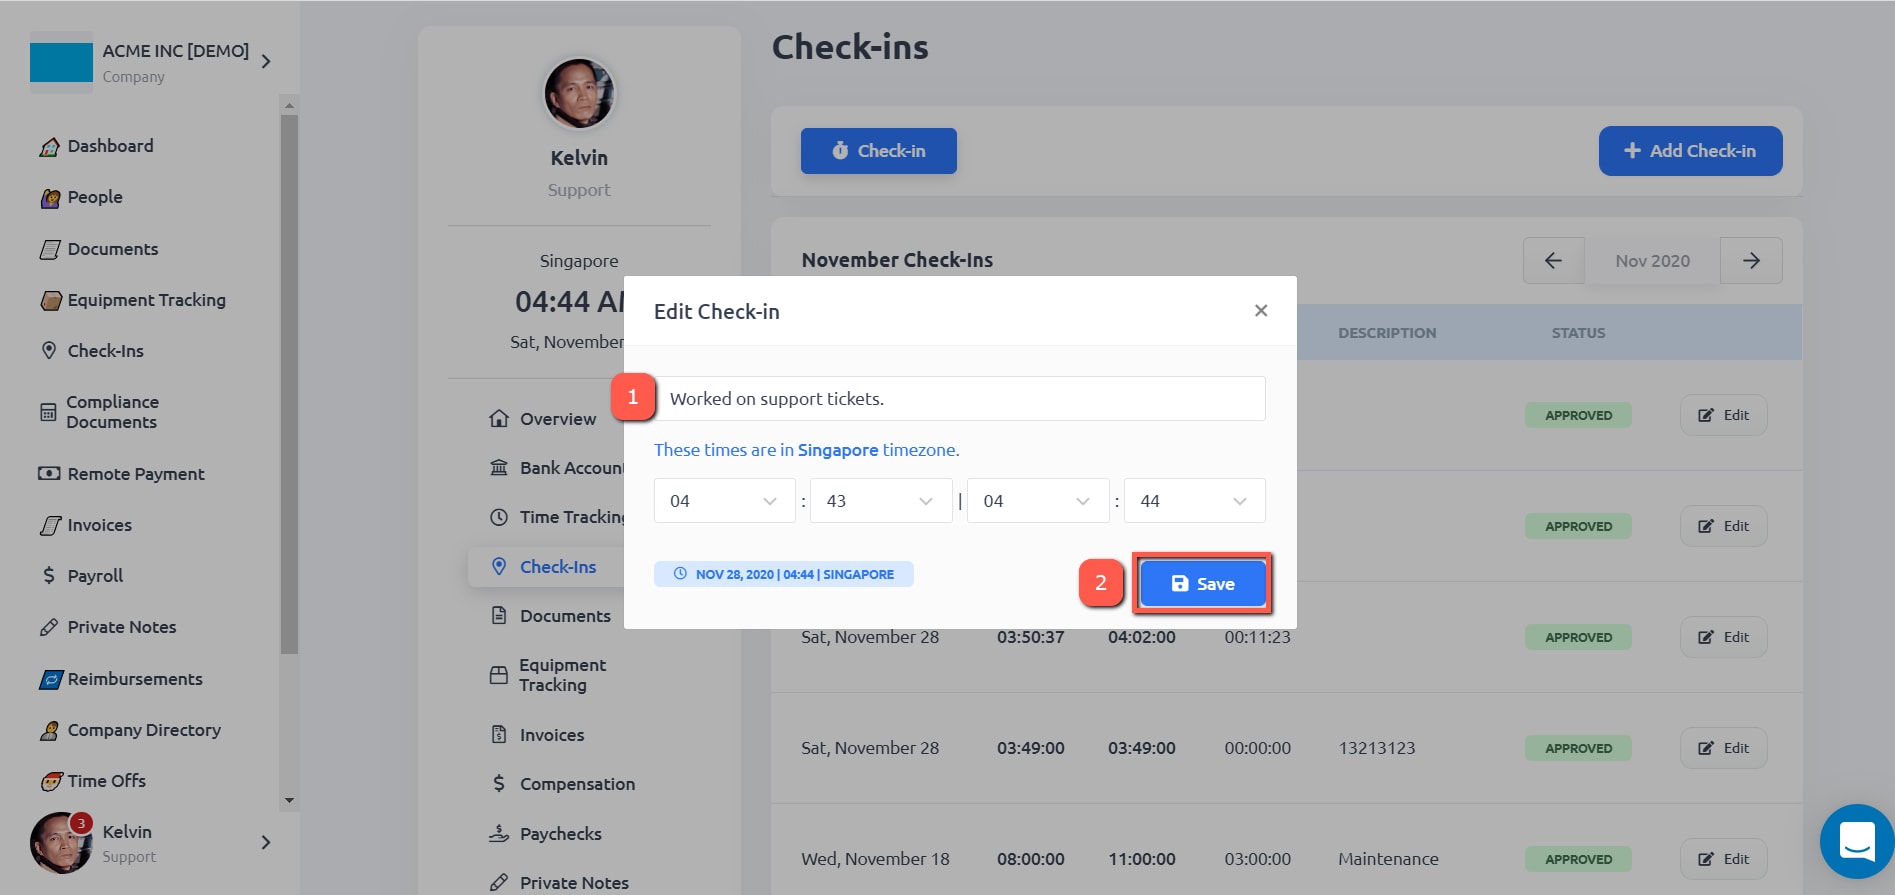
STEP 5: On the Edit Check-in window, add a detailed Description of the work you’ve done and click on the Save button.

STEP 6: For cases wherein you missed clicking the Check-in button to track your time, you have the option to manually add time.
Click the Add Check-in button on top.

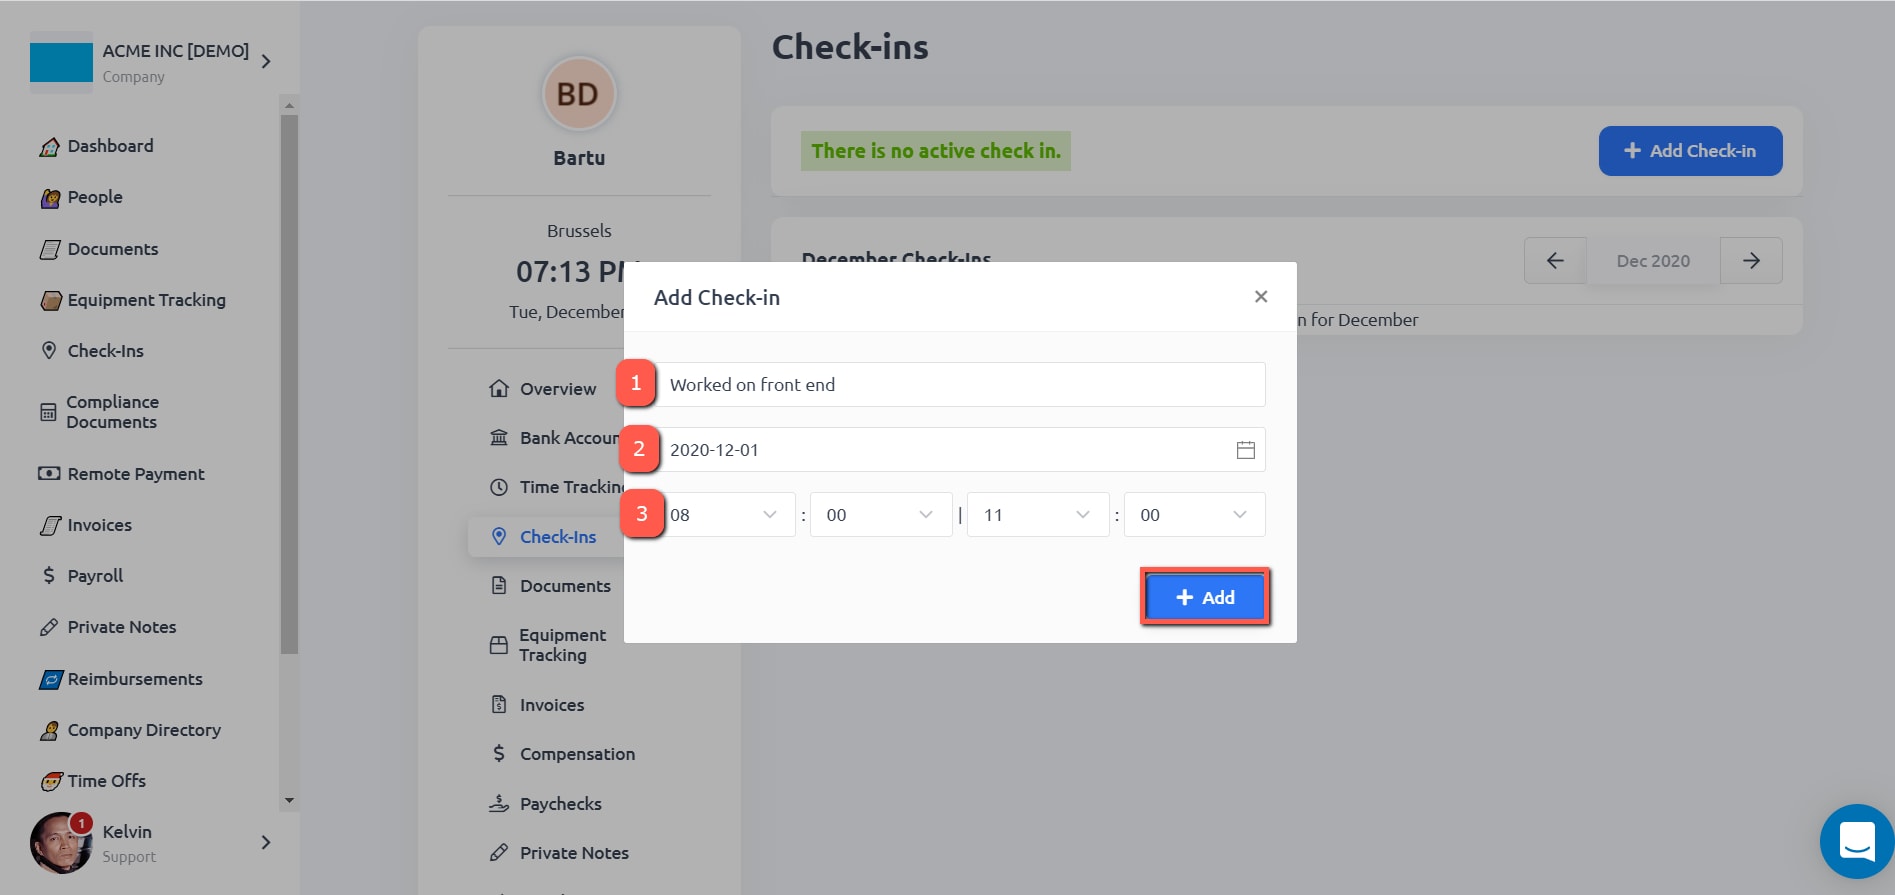
STEP 7: On the Add Check-in window, write the Description for the work done, choose the date, set the start time and end time.
Click the Add button to save the information.
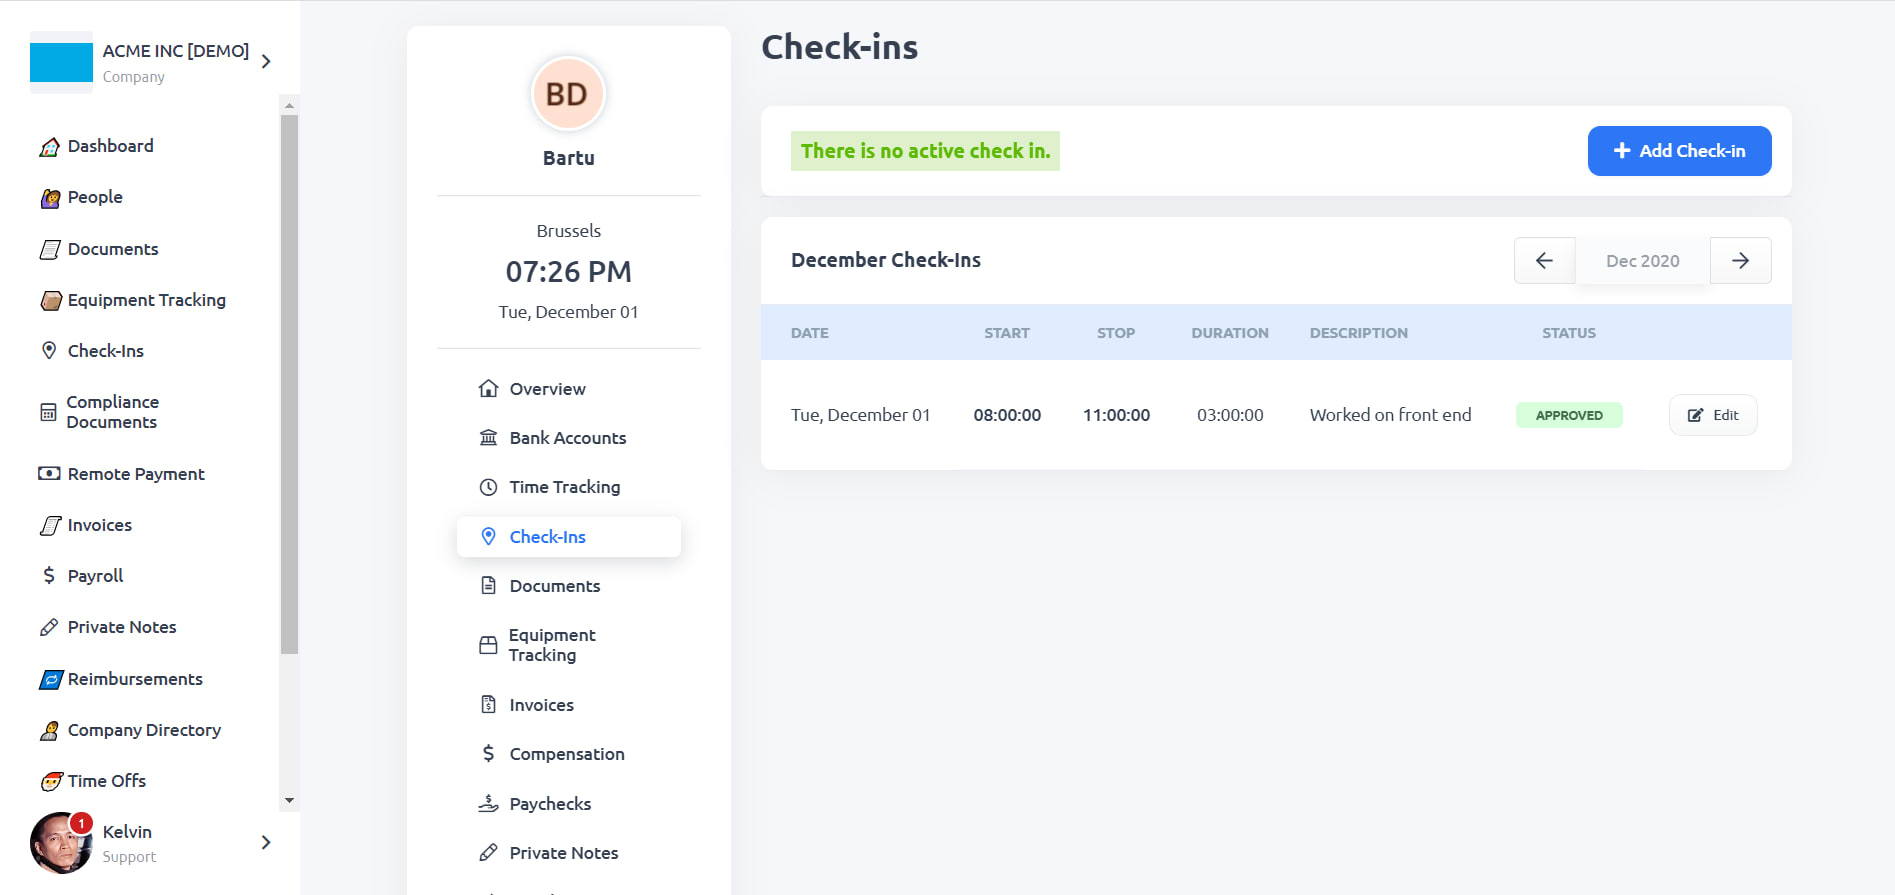
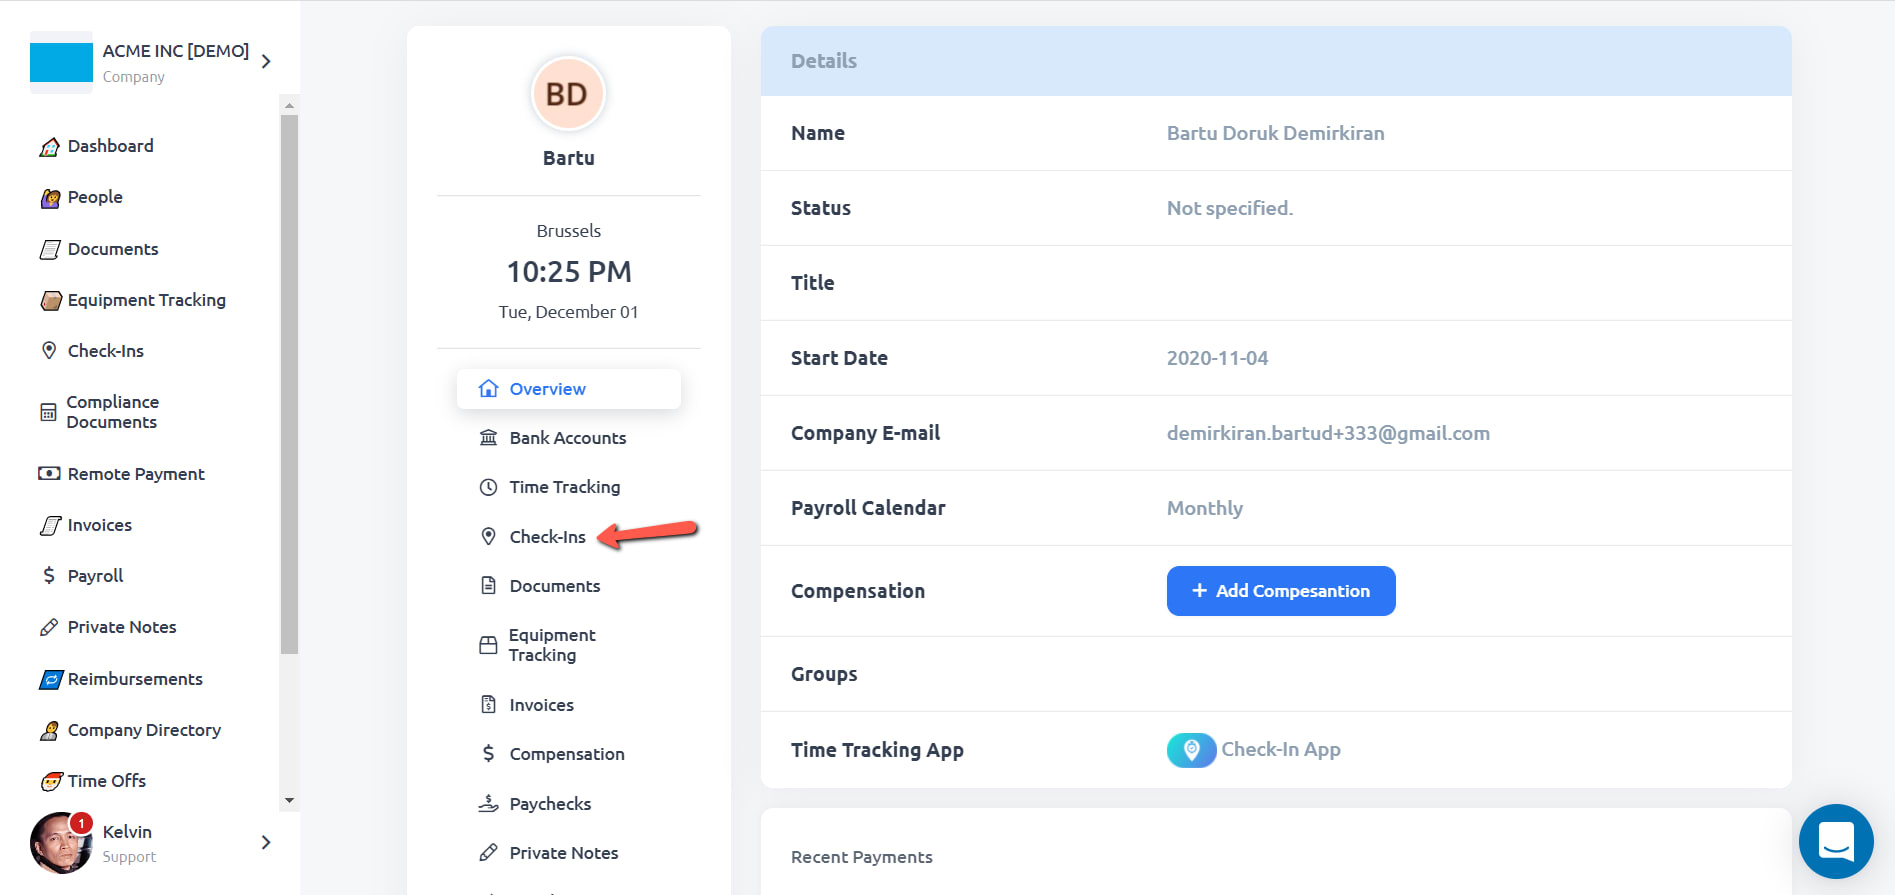
STEP 1: On your RemoteTeam dashboard, click on People.
STEP 2: Click the Details button for the team member that you would like to check.

STEP 3: Click on Check-ins.

You should now be able to review the team members worked hours.

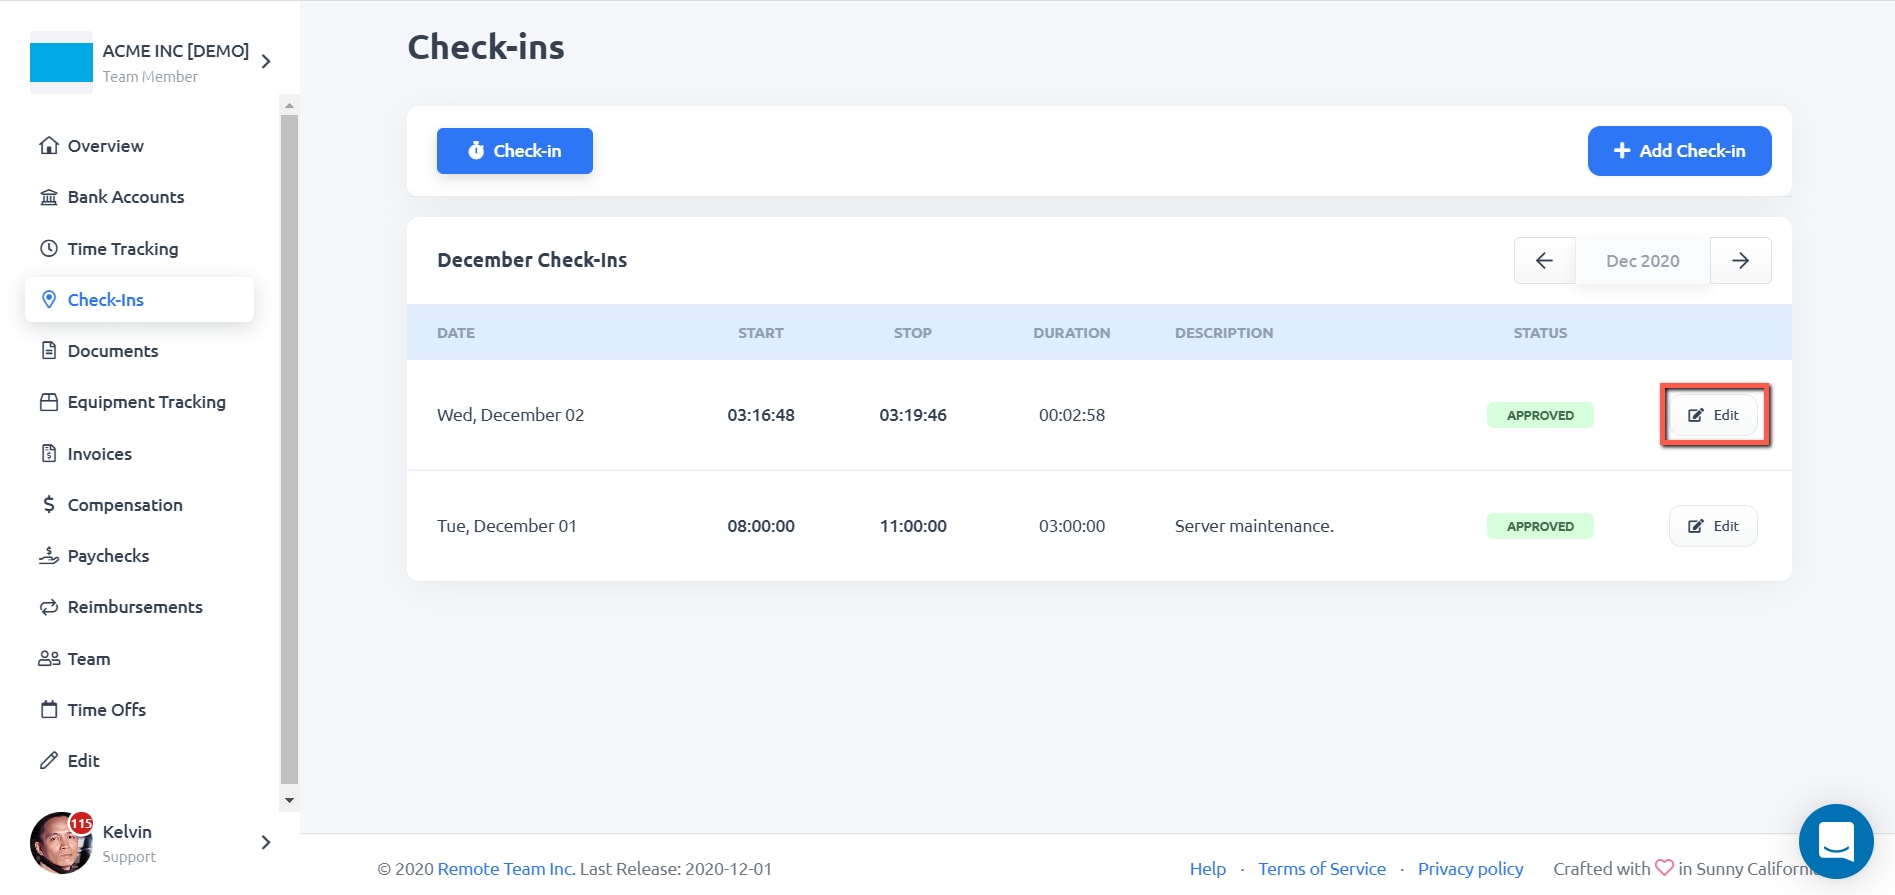
STEP 1: On your RemoteTeam dashboard, click on Check-Ins.

STEP 2: Click the Edit button for the worked time that you need to edit.

STEP 3: You can now make the changes to your worked time. When you’re done, click the Save button to save the changes.

STEP 1: On your RemoteTeam dashboard, click on Check-Ins.
STEP 2: Click the Edit button for the tracked time that you would need to delete.
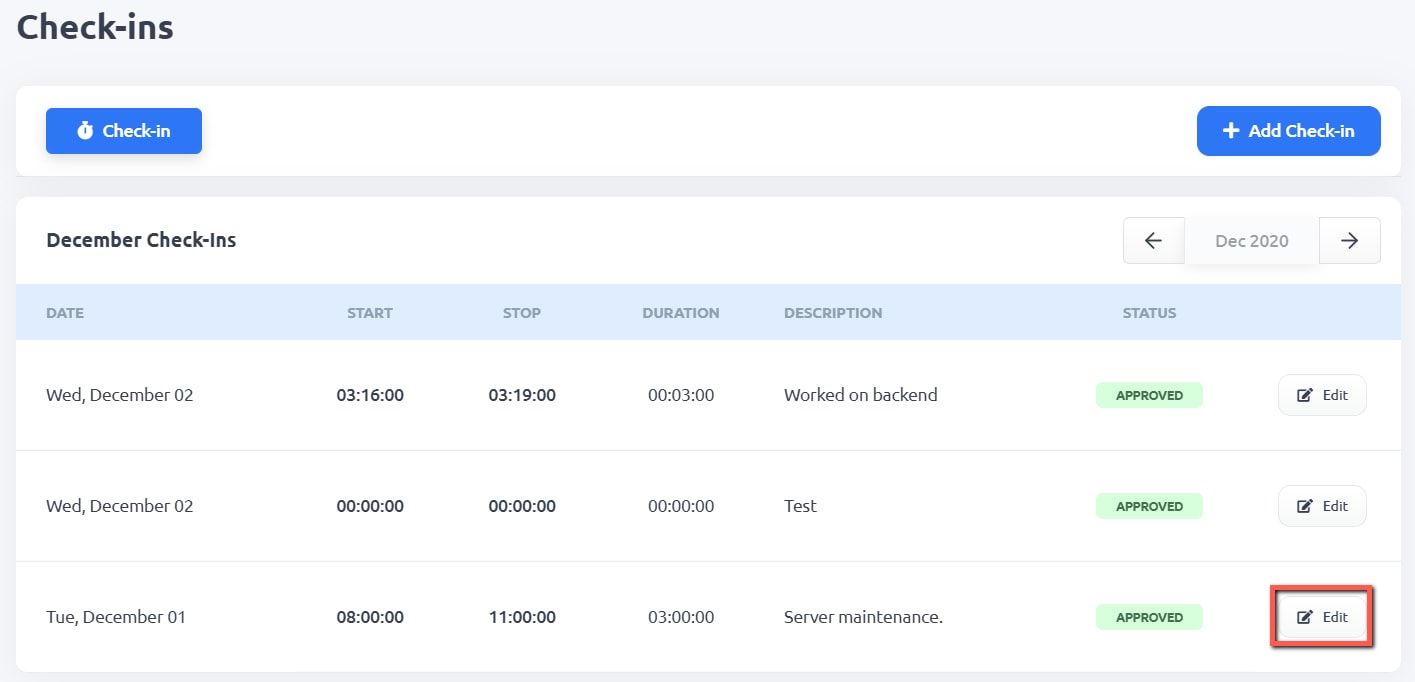
STEP 3: Set the Start Time and End Time to 00:00 (hours: minutes). Click the Save button to save the changes.
Your tracked time should now be deleted.
STEP 1: On your RemoteTeam dashboard, click on People.

STEP 2: Click the Details button for the team member that you need to delete tracked time from.

STEP 3: Click on Check-ins.
STEP 4: Click the Edit button of the tracked time that you need to remove.

STEP 5: Set the Start Time and End Time to 00:00 (hours: minutes). Click the Save button to save the changes.

The team members ‘ tracked time should now be deleted.